There’s nothing quite like the joy of homemade ice cream-the creamy, dreamy treat that melts on your tongue and brings a smile with every scoop. But what happens when your trusty ice cream maker bowl just won’t chill enough to turn that sweet mixture into frozen delight? It’s a common frustration felt by kitchen enthusiasts everywhere. Before you blame the recipe or your freezer, it’s time to dig a little deeper into the science and mechanics behind the magic. In this article, we’ll uncover the surprising reasons why your ice cream maker bowl may be falling short of the cold, and how you can troubleshoot to ensure every batch comes out perfectly frozen and utterly delicious. Get ready to turn down the heat on confusion and crank up the chill on your ice cream adventure!
Why Your Ice Cream Maker Bowl Isn’t Getting Cold Enough can be a frustrating mystery for any home ice cream enthusiast. As someone who’s spent countless hours perfecting frozen desserts, I understand how pivotal a properly chilled bowl is to achieving that luscious, creamy texture. The secret lies not just in the ingredients but also in understanding how your machine’s freezing bowl technology works-and how to troubleshoot common pitfalls that sabotage its cooling power.
Prep and Cook Time
- Prep Time: 15 minutes (plus freezing time for the bowl)
- Cook Time: 25-30 minutes (churning)
Yield
- About 1 quart (4 cups) of perfectly churned ice cream
Difficulty Level
- Medium – mastering bowl cooling optimizes your results
Ingredients for Perfect Use of Your Ice Cream Maker Bowl
- Ice cream mix – freshly made or store-bought, at least 2 cups
- Dry freezer-safe ice cream maker bowl (fully thawed before use)
- Access to a freezer with consistent temperature at or below -10°F (-23°C)
Understanding and Troubleshooting: How to Maximize Your Ice Cream Maker’s Cold Potential
- Freeze the Bowl Thoroughly: Your bowl must be completely frozen to around -20°F (-29°C) to achieve a quick freeze. Leave it in your freezer for at least 24 hours without opening the door frequently. A partially frozen bowl is less effective and prolongs churning.
- Optimize Freezer Conditions: Ensure your freezer is set to the coldest stable temperature possible. Avoid leaving the bowl near the door or in fluctuating spots. Use a freezer thermometer to monitor consistency.
- Pre-Chill Ice Cream Mix: Cool your base to refrigerator temperature or colder before pouring it into the bowl. The colder the mix, the faster and smoother the freezing cycle.
- Dry the Bowl After Freezing: Remove any ice crystals or condensation with a soft towel before use. Water on the bowl surface can insulate and reduce freezing performance.
- Limit Exposure Time: Do not leave the bowl out at room temperature before churning. Minimize the time it takes to set up your ingredients and start the machine.
- Use Smaller Batches: Overloading the bowl slows freezing. Stick to the recommended quantity per your ice cream maker’s instructions for best results.
- Check Bowl Condition: Inspect your bowl for cracks or damage, which can hinder proper freezing. Replace if necessary.
Expert Tips to Boost Bowl Cooling Efficiency
- Double Freeze: For consistent results, freeze the empty bowl for 48 hours and then freeze it again before use.
- Invest in Ice and Salt Garnish: For some models, placing the frozen bowl inside an insulated container with ice and rock salt further lowers temperature and enhances freezing.
- Use a Dedicated Freezer Space: Keep a section of your freezer reserved exclusively for the bowl to avoid temperature fluctuations.
- Rotate Batches: If making multiple batches back-to-back, refreeze the bowl between uses for best cooling.
- Upgrade Your Equipment: Consider investing in a compressor-style ice cream maker for continuous freezing if the frozen bowl routine is inconvenient.
Chef’s Notes
- Always avoid warm or room-temperature liquids when starting your ice cream maker; it drastically affects freezing time and texture.
- To extend your bowl’s lifespan, never wash it with hot water or in the dishwasher.
- If you experience slushiness or slow freezing, check if your freezer temperature is fluctuating or if the bowl is being exposed to warm air.
- Feel free to experiment with ingredients like alcohol or sugars that can alter freezing point but adjust your expectations as they can impact hardness.
Serving Suggestions
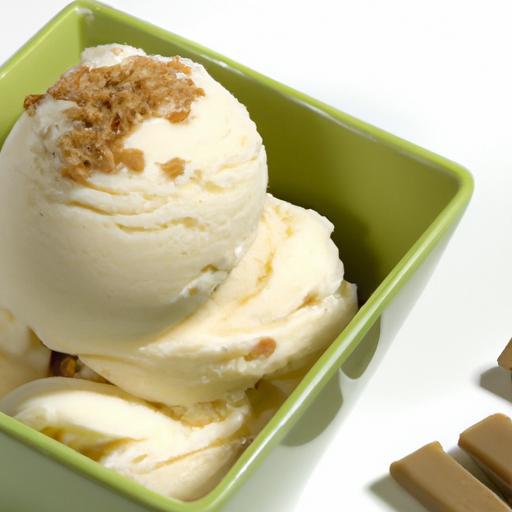
Once you’ve harnessed your ice cream maker bowl’s full cooling power, serve your homemade ice cream with fresh berries, a drizzle of homemade chocolate sauce, or a sprinkle of toasted nuts. Presentation is key: use chilled bowls to keep your scoops firm longer, and add whimsical garnishes like edible flowers or colorful sprinkles to delight friends and family.

| Nutrient | Per ½ Cup Serving |
|---|---|
| Calories | 150 |
| Protein | 3 g |
| Carbohydrates | 20 g |
| Fat | 7 g |
Learn more about the science of ice cream freezing and enrich your kitchen toolkit. Also, visit our guide on making creamy homemade ice cream to elevate your dessert creations.
Q&A
Q: Why isn’t my ice cream maker bowl getting cold enough?
A: Think of your ice cream maker bowl like a tiny refrigerator-it needs a proper chill to turn your sweet mix into creamy ice cream. If it’s not cold enough, the magic can’t happen. Common culprits include not freezing the bowl long enough, a freezer that’s not cold enough, or opening the bowl too soon and letting in warm air.
Q: How long should I freeze the bowl before using it?
A: Patience is key! Most ice cream maker bowls need at least 12 to 24 hours in the freezer to reach that perfect icy state. Shortchanging this time means the bowl won’t be cold enough to freeze your mix properly.
Q: Can the freezer temperature affect the bowl’s performance?
A: Absolutely. If your freezer isn’t set to a cold enough temperature-ideally around 0°F (-18°C) or lower-your bowl won’t freeze solid. A warmer freezer can leave the bowl only partially chilled, making it struggle to do its job.
Q: Does the type of ice cream maker bowl matter?
A: Yes! Some bowls use liquid or gel inside that freezes solid, while others rely on double walls of metal. Make sure to follow the manufacturer’s instructions for freezing times. Also, over time, these gels can degrade and reduce the bowl’s freezing power.
Q: Could I be accidentally warming the bowl during setup?
A: It happens more often than you think! Leaving the bowl out too long before pouring in the ice cream mix, or placing the bowl on a warm surface, can sap away its chill. Keep the bowl in the freezer until the very last minute, then work quickly and efficiently.
Q: What about the ice cream recipe itself-does that affect freezing?
A: Indeed! Mixes high in sugar or alcohol freeze more slowly because these ingredients lower the freezing point. If your ice cream isn’t firming up, try tweaking your recipe or using less sugar and alcohol for a better freeze.
Q: Any quick fixes if my bowl isn’t cold enough?
A: Freeze it longer! If your bowl feels just cool, but not icy cold, pop it back into the freezer for several more hours. Also, double-check your freezer settings and avoid opening the freezer door too often during the freezing process.
Q: When should I replace my ice cream maker bowl?
A: If your bowl never seems to get truly cold despite freezing for the recommended time and your freezer is iced-up and freezing properly, it might be time for a replacement. Over years of use, the cooling gel or internal components can lose effectiveness, robbing you of that perfect scoop.
Final Thoughts
In the chilly quest for the perfect scoop, understanding why your ice cream maker bowl isn’t getting cold enough is half the battle won. Whether it’s a matter of freezer time, bowl material, or just a dash of patience, these subtle factors play a starring role in your frosty creation. So next time your ice cream isn’t setting quite right, remember: a little know-how and care can turn that lukewarm disappointment into a delightfully icy treat. Keep your bowl chilled, your ingredients ready, and your sweet cravings on standby – the perfect batch is just around the corner!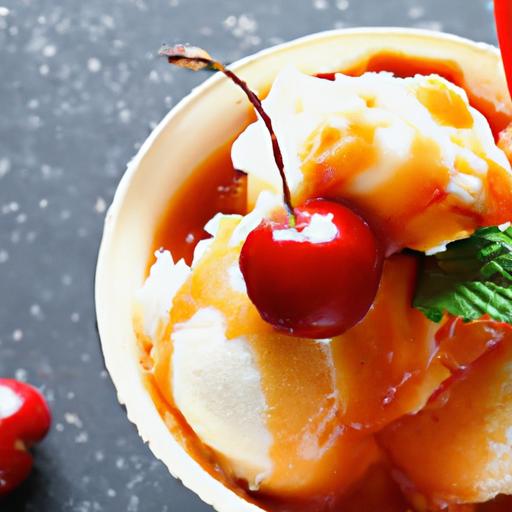


