There’s nothing quite like the first spoonful of perfectly creamy ice cream-cool, smooth, and bursting with flavor. But all too often, that blissful experience is sabotaged by unwanted ice crystals, freezer burn, or a bowl that’s turned rock hard. Storing your beloved ice cream bowl properly is an art-and a science-that can elevate every scoop from “meh” to marvelous. In this article, we’ll share expert tips to help you chill smart, ensuring each serving stays as fresh and luscious as the day it was made. Say goodbye to freezer mishaps and hello to scoop after scoop of frozen delight!
Chill Smart: Expert Tips to Store Your Ice Cream Bowl Right
Chill Smart is your ultimate guide to mastering the art of storing ice cream so it stays as irresistibly creamy and flavorful as the moment you first tasted it. Whether you’re a seasoned ice cream enthusiast or just starting to explore homemade delights, knowing how to choose the perfect container and store your frozen treat can make all the difference between a scoop of pure bliss and a disappointing icy crunch.
Prep and Cook Time
- Preparation: 10 minutes
- Storage Setup: Immediate
- Serving Ready: Anytime after freezing
Yield
- Perfect storage for 1-2 quarts of ice cream
Difficulty Level
- Easy
Ingredients
- Ice cream (homemade or store-bought)
- High-quality airtight container (preferably glass or BPA-free plastic)
- Plastic wrap or parchment paper (optional)
- Freezer-safe label stickers (optional)
Instructions
- Select the right container: Opt for a tightly sealing airtight container made from glass or BPA-free plastic. Glass containers are not only eco-friendly but prevent flavor transfer better than plastic options.
- Pre-chill the container: Before scooping your ice cream, place the container in the freezer for at least 30 minutes to prevent melting and refreezing that causes ice crystals.
- Transfer the ice cream gently: Use an ice cream scoop warmed in hot water to create smooth, clean scoops. Immediately place chunks or scoops into your chilled container to minimize melting.
- Cover with a plastic wrap or parchment: Press the wrap directly onto the surface of the ice cream to block air exposure, then seal the lid tightly
- Set the freezer temperature optimally: Maintain a consistent temperature between -5°F to 0°F (-20°C to -18°C). Avoid fluctuations by placing the container in the back of the freezer, away from the door.
- Freeze flat and undisturbed: Lay your container flat and avoid stacking heavy items on top. Disturbance can break the ice cream’s structure and promote freezer burn.
- Label with date: Use freezer-safe stickers or markers to note when the ice cream was stored for best freshness tracking.
- Reuse creatively: When nearing the end of your stored batch, try blending leftover bits into smoothies, creating milkshakes, or baking delightful ice cream brownies to avoid waste.
Tips for Success
- Never refreeze melted ice cream-it alters texture dramatically.
- Choose opaque containers to protect your ice cream from light which can degrade flavor.
- If ice crystals form, try letting the ice cream soften slightly at room temperature then vigorously stir to restore creaminess.
- For bulk storage, portion ice cream into small individual containers to minimize frequent opening and exposure.
- Experiment with layering flavors by adding parchment between layers in your container.
Serving Suggestions
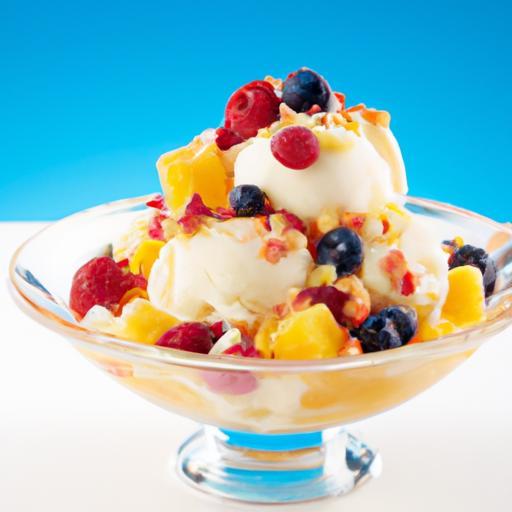
Serve your perfectly stored ice cream in chilled bowls to keep it from melting too fast. Garnish with fresh berries, crushed nuts, or a drizzle of homemade chocolate sauce to elevate each scoop. Transform leftover bits into frozen pops by blending with fruit juices and freezing in popsicle molds, perfect for a refreshing summer treat.
| Storage Element | Purpose | Benefit |
|---|---|---|
| Airtight Container | Seals out air and odors | Preserves flavor and prevents freezer burn |
| Freezer Temperature | Maintains consistency | Stops ice crystals from forming |
| Plastic Wrap Layer | Covers ice cream surface | Blocks moisture and air contact |
Looking for more ways to keep your frozen treats fresh? Check out our detailed freezer organizing tips and for scientific insights on freezing preservation, visit Scientific American.

Q&A
Q&A: Chill Smart – Expert Tips to Store Your Ice Cream Bowl Right
Q1: Why does my ice cream feel icy or hard after storage?
A1: When ice cream forms icy chunks or turns rock-solid, it’s usually a sign of temperature fluctuations in your freezer. Each time the ice cream slightly melts and refreezes, ice crystals grow bigger, leading to that grainy texture. Keeping your ice cream in a consistent, cold spot and sealing it tightly helps preserve its creamy smoothness.
Q2: Can I store my ice cream bowl directly in the freezer without transferring it?
A2: Absolutely! If your bowl is freezer-safe, storing the ice cream right in it can be convenient. However, make sure the bowl has a tight-fitting lid or cover it with plastic wrap or foil to prevent exposure to air, which causes freezer burn and off-flavors.
Q3: What’s the ideal container for storing leftover ice cream?
A3: A shallow, airtight container works wonders. It minimizes air exposure and keeps the ice cream evenly frozen. Glass or BPA-free plastic containers with secure lids are perfect. Avoid containers that are too tall, as they encourage larger ice crystals.
Q4: How long can I keep ice cream stored properly before its quality declines?
A4: For the best taste and texture, enjoy your ice cream within 2 to 4 weeks of storing it. While it remains safe beyond that, prolonged storage can dull flavors and create ice crystals, reducing that luscious creamy experience.
Q5: Is it better to freeze ice cream in small portions?
A5: Yes! Smaller portions freeze faster and thaw evenly, preserving the texture. Plus, scooping out just what you need limits repeated thawing and refreezing of the entire batch-keeping your ice cream bowl delicious every time.
Q6: Any secret tips to revive slightly icy or hardened ice cream?
A6: Let your bowl sit at room temperature for 5 to 10 minutes before serving. This brief thaw softens the ice cream just enough to scoop smoothly again without melting it completely. Using a warm scoop or dipping your spoon in hot water can also make serving easier.
Q7: Can I store homemade ice cream the same way as store-bought?
A7: For sure! Homemade ice cream benefits even more from airtight storage and stable freezing temperatures because it usually lacks commercial stabilizers. Cover your bowl tightly and freeze promptly to lock in that fresh, creamy goodness.
Storing your ice cream bowl smartly is the secret to savoring every scoop as though it’s freshly made. Keep it airtight, chilly, and portion-friendly-and prepare to indulge in creamy bliss anytime!
Key Takeaways
As the final spoonful melts into memory, the way you store your ice cream bowl can make all the difference between a future scoop that’s creamy and fresh or a frosty, flavorless disappointment. With these expert tips in your chill toolkit, you’re no longer just enjoying ice cream-you’re mastering the art of preservation. So next time you treat yourself, remember: a little smart storage goes a long way in keeping that sweet joy perfectly preserved, one bowl at a time. Stay cool, stay savvy, and let every bite be as delightful as the first.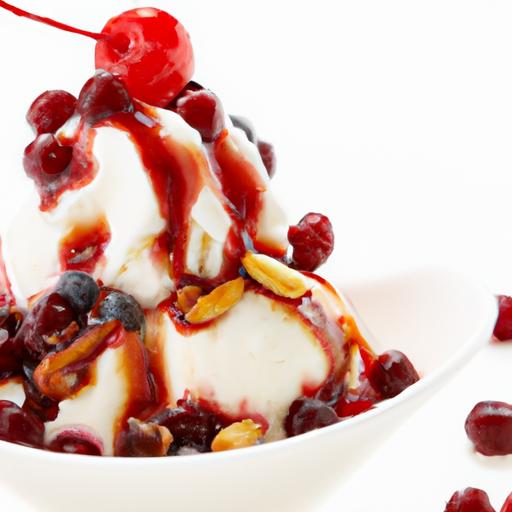


