There’s something undeniably magical about biting into a piece of perfectly golden, buttermilk fried chicken – the satisfying crunch giving way to tender, juicy meat infused with a symphony of flavors. In “Crispy Craft: Mastering the Art of Buttermilk Fried Chicken,” we embark on a culinary journey that transforms humble ingredients into a crispy masterpiece. Beyond just a recipe, this guide delves into the secrets behind the iconic coating, the role of buttermilk in creating that legendary crisp, and techniques to ensure every bite delivers that crave-worthy crunch. Whether you’re a seasoned cook or a curious novice, get ready to unlock the art and science of one of America’s most beloved comfort foods.
Crispy Craft: Mastering the Art of Buttermilk Fried Chicken
Crispy craft: mastering the art of buttermilk fried chicken is more than just a cooking technique-it’s a delicious rendezvous between science and soul. Originating from the rich culinary traditions of Southern America, this dish has evolved to become a universal comfort food staple. What makes this recipe truly special is the harmonious balance achieved between a tender, juicy interior and an irresistibly crunchy golden crust. In this guide, you’ll uncover the culinary secrets behind that coveted perfect crunch, the science of choosing the right buttermilk blend, the spice profiles that make each bite sing, and the frying methods used to bring it all together flawlessly.
Prep and Cook Time
- Preparation: 20 minutes
- Marination: 6 hours (overnight preferred)
- Cooking: 15 minutes
- Total Time: Approximately 7 hours (including marination)
Yield
Serves 4-6 hungry guests
Difficulty Level
Medium-Great for confident home cooks looking to elevate their frying skills
Ingredients
- 1 whole chicken, cut into 8 pieces
- 4 cups buttermilk (preferably cultured, full-fat)
- 2 tbsp hot sauce (optional, for a subtle kick)
- 2 cups all-purpose flour, sifted
- 1/2 cup cornstarch
- 2 tsp smoked paprika
- 1 tsp garlic powder
- 1 tsp onion powder
- 1 tbsp kosher salt, divided
- 1 tsp freshly ground black pepper, divided
- 1 tsp cayenne pepper (adjust to taste)
- Vegetable or peanut oil, for deep frying (enough to submerge chicken pieces)
Instructions
- Prepare the marinade: In a large bowl, whisk together buttermilk, 1 tbsp kosher salt, 1/2 tsp black pepper, and hot sauce. Submerge chicken pieces fully and cover. Refrigerate for at least 6 hours or overnight for optimal tender juiciness.
- Create the coating: In another large bowl, combine sifted flour, cornstarch, paprika, garlic powder, onion powder, cayenne, remaining salt, and pepper. The cornstarch works scientifically to reduce gluten formation, which promotes extra crispness.
- Double dredge for crunch: Remove chicken from marinade, letting excess drip off. Dredge each piece thoroughly in the seasoned flour mixture. For enhanced texture, dunk pieces back into the marinade briefly then coat again in flour mixture.
- Rest before frying: Place coated chicken on a wire rack to set for 15 minutes; this step allows the crust to bond and helps maintain crunch after frying.
- Heat the oil: In a deep cast iron skillet or heavy-bottomed pot, heat oil to 350°F (175°C). Use a thermometer for precision to ensure even frying and avoid soggy coating.
- Fry in batches: Carefully place chicken pieces in the hot oil without overcrowding. Fry for about 13-15 minutes, turning occasionally, until the crust is golden brown and internal temperature reaches 165°F (75°C).
- Drain and rest: Remove chicken with a slotted spoon and transfer to a wire rack set over a baking sheet to drain excess oil. This prevents steaming and keeps your crust glorious and crisp.
- Serve immediately: Enjoy your masterpiece hot, or keep warm in an oven set to 200°F (93°C) briefly before serving.
Tips for Success
- Ideal buttermilk blend: Use cultured buttermilk-it contains lactic acid that tenderizes meat by breaking down protein fibers, resulting in a juicy bite every time.
- Customizing your spice profile: Experiment with smoked paprika for depth or mustard powder to add subtle tang. Marinate with fresh herbs like thyme for herbal nuances.
- Frying secrets: Maintain consistent oil temperature; if it dips too low, the crust absorbs oil and becomes greasy; if too high, the exterior burns before cooking through.
- Make-ahead: Marinate and dredge chicken pieces up to 24 hours in advance for a time-saving shortcut.
- Alternative coatings: Swap half the flour with panko breadcrumbs for an ultra-textured crunch.
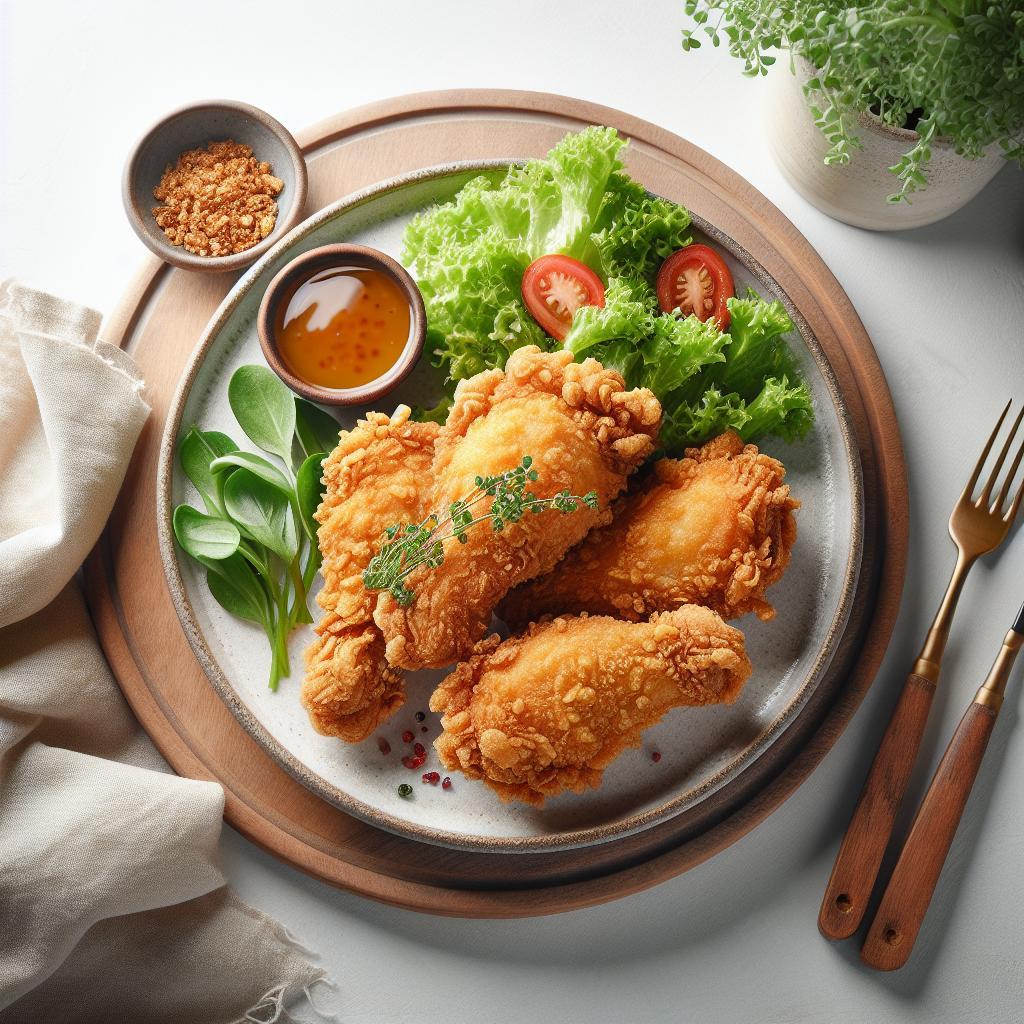
Serving Suggestions
Serve this crunchy delight alongside classic Southern sides like buttermilk mashed potatoes, collard greens, or a tangy coleslaw. Garnish with fresh parsley sprigs and a wedge of lemon to brighten the plate. For a modern twist, drizzle with honey-chili glaze or accompany with pickled jalapeños. A cold glass of sweet iced tea or a crisp lager also elevates the experience.

| Nutrition | Per Serving |
|---|---|
| Calories | 460 kcal |
| Protein | 38 g |
| Carbohydrates | 22 g |
| Fat | 25 g |
Learn more about perfect frying temperatures in this expert guide. For a deeper dive into mastering Southern classics, check out our Southern Cooking Basics article.
Q&A
Q&A: Crispy Craft – Mastering the Art of Buttermilk Fried Chicken
Q1: What makes buttermilk fried chicken so irresistibly crispy and flavorful?
A: The secret lies in the magic of buttermilk! Its acidity tenderizes the chicken, breaking down protein strands for a juicy bite, while the tangy richness seeps into every nook. When paired with a seasoned flour coating, the result is a golden, crackling crust that sings with savory goodness.
Q2: How long should chicken marinate in buttermilk for the best texture?
A: Patience is a crispy craftsperson’s best friend. Aim for at least 4 hours, but an overnight soak (8 to 12 hours) truly lets the buttermilk work deep, yielding meat that’s tender and delightfully juicy inside.
Q3: Can I customize the seasoning in the flour coating?
A: Absolutely! The flour acts as a canvas-experiment with smoked paprika, garlic powder, cayenne, or even a pinch of brown sugar to strike a balance between heat, warmth, and subtle sweetness. Personalize the spice blend to create your signature crunch.
Q4: What type of oil is best for frying buttermilk chicken?
A: Opt for oils with a high smoke point, like peanut, vegetable, or canola oil. They withstand the heat without breaking down, ensuring your chicken fries evenly and crisply without off-flavors.
Q5: How do I get the crust to stick perfectly without falling off?
A: The secret is a proper dredge technique-dip your marinated chicken in seasoned flour, then back into the buttermilk briefly, followed by a final flour coating. This double layer builds a sturdy and flaky crust that clings through frying.
Q6: How hot should the oil be for frying?
A: Keep your thermometer steady between 325°F and 350°F (163°C to 177°C). Too hot, and the crust burns while the inside remains raw; too cool, and the chicken absorbs excess oil, turning greasy instead of crispy.
Q7: Any tips for frying uneven pieces like wings and thighs?
A: Fry in batches, grouping similarly sized pieces together to ensure even cooking. Use a wire rack to rest your chicken post-fry-this allows excess oil to drip and keeps the crust crisp, not soggy.
Q8: What’s the best way to enjoy buttermilk fried chicken once it’s done?
A: Serve it hot and fresh-with classic sides like coleslaw, pickles, and buttery cornbread. Don’t forget a drizzle of honey or a splash of hot sauce for that perfect sweet-spicy harmony. Crispy craft isn’t just cooking, it’s an experience!
Mastering buttermilk fried chicken is not just about following steps-it’s an art of balancing flavor, texture, and temperature. Ready to create your crispy masterpiece? The kitchen awaits!
Wrapping Up
As the golden crust crackles beneath your fork and the tender, juicy meat melts in your mouth, you realize that mastering buttermilk fried chicken is more than just a recipe-it’s an art form. From the tangy marinade that tenderizes each bite to the perfectly seasoned coating that delivers that unmistakable crunch, every step is a deliberate stroke on your culinary canvas. Armed with these techniques and a dash of patience, you’re no longer just frying chicken; you’re crafting crispy perfection. So next time you crave that soul-satisfying comfort food, remember: the secret lies not just in the ingredients, but in the love and craft you fold into every batch. Happy frying!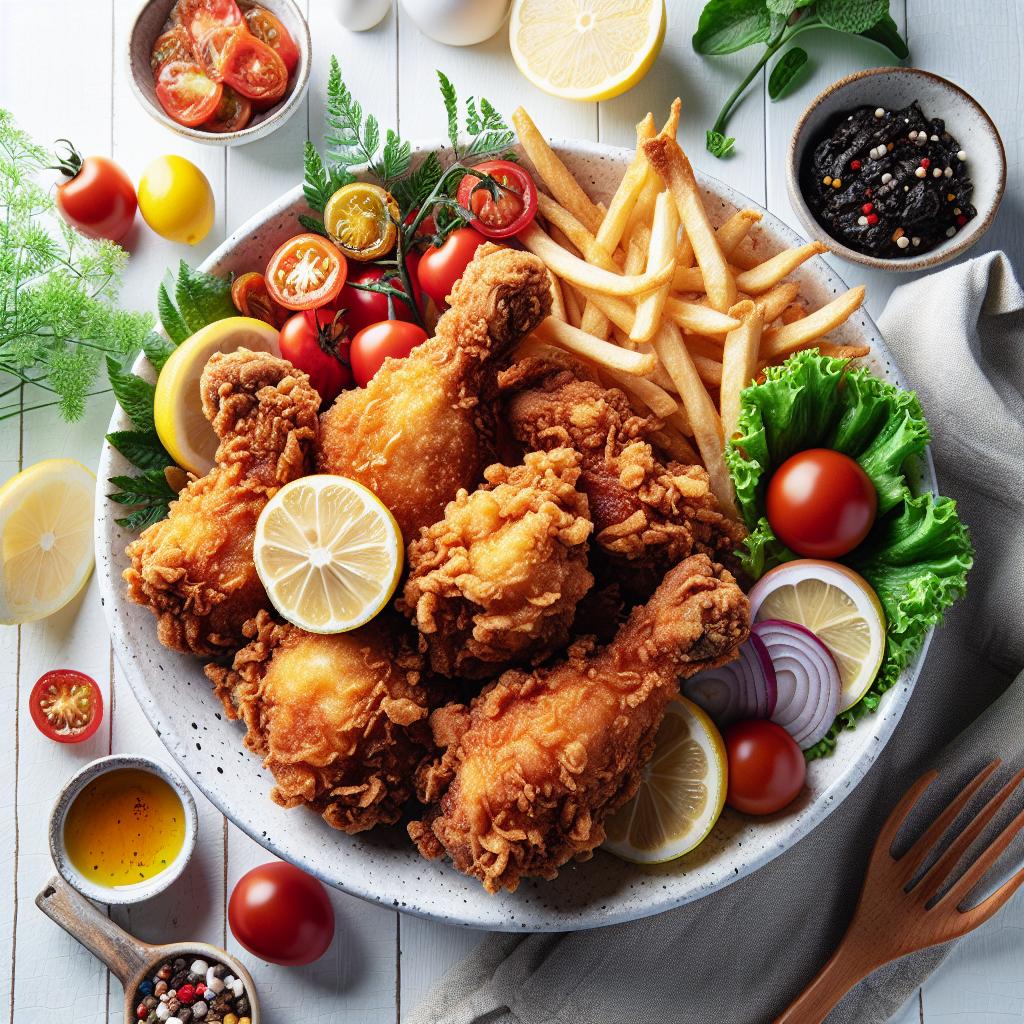


