
There’s a primal magic in the flicker of glowing embers, the smoky aroma that drifts through the air, and the crackle of charcoal as it transforms into the fiery heart of a perfect grill session. But if you’ve ever reached for that bottle of lighter fluid, only to be met with a chemical bitterness that masks the true taste of your food, you’re not alone. It’s time to reignite your grilling experience-without the synthetic sizzle. In this article, we’ll explore the art and science of lighting charcoal naturally, unveiling easy, effective methods that bring out the pure essence of fire and flavor. Say goodbye to lighter fluid and hello to a cleaner, more authentic chargrill adventure. Let’s ignite your grill the right way.
Choosing the Perfect Charcoal for Effortless Ignition
Ignite Your Grill: Charcoal Lighting Without Lighter Fluid begins with selecting the ideal charcoal that fuels a swift, consistent fire. Natural lump charcoal is prized for its ecological friendliness and rapid ignition, providing vibrant flames and that authentic smoky flavor. Conversely, briquettes offer uniform size and a steady burn, perfect for longer cooking sessions. Opt for high-quality charcoal with minimal fillers or chemical binders to ensure a cleaner burn and lessen unwanted odors. Look for hardwood-based charcoal, which ignites faster and maintains intense heat, setting your grill off to an outstanding start.
Mastering the Art of the Chimney Starter Technique
One of the most reliable strategies when lighting charcoal is the chimney starter method-no lighter fluid required. Begin by placing crumpled newspaper or natural fire starters into the base. Stack your charcoal evenly above the fire source in the chimney cylinder. Light the paper or fire starters beneath, and wait 10-15 minutes. Watch eagerly as the flames ignite the charcoal from the bottom up, transforming the grey ash coating into glowing embers ready for cooking. The chimney starter not only expedites ignition but helps avoid the chemical taste lighter fluid often imparts.
Crafting Homemade Natural Fire Starters for Safe Flames
Sourcing commercial fire starters can be tempting, but creating your own natural fire starters adds a touch of rustic charm and safety. Combine pine cones, cotton balls, and beeswax for a highly effective, long-burning ignition aid. Melt the beeswax and soak the cotton balls and pine cones in the wax, then let them dry completely. These DIY starters ignite easily and burn steadily, helping you build a strong base fire in your chimney starter or grill without synthetic chemicals.
Essential Tips for Maintaining a Consistent and Hot Charcoal Bed
Once your charcoal is perfectly ignited, maintaining a steady, hot bed is key to mastering the grill. Spread the coals evenly for balanced heat distribution or bank them on one side for indirect cooking. Use long-handled tongs or a metal rake to gently stir the coals mid-cook, breaking up ash clumps and increasing airflow. Keep vents adjusted to regulate oxygen flow-open vents will intensify the fire, and partially closed vents will maintain a controlled temperature. Remember, avoiding lighter fluid means your coals stay pure and produce impeccable smoky flavors for your masterpiece dishes.
Prep and Cook Time
- Preparation: 15 minutes (includes fire starter or chimney setup)
- Ignition Time: 10-20 minutes until charcoal is ready
- Cooking: Varies depending on recipe
Yield
Varies depending on the quantity of charcoal and grill size; enough to cook for 4-6 people comfortably.
Difficulty Level
Medium: Requires understanding fire management and patience to perfect the technique.
Ingredients
- Natural lump charcoal or briquettes – 4 to 6 pounds
- Newspaper sheets – 3 to 4 sheets, crumpled
- Pine cones – 5 to 6 (for homemade starters)
- Cotton balls – 4 to 5 (for homemade starters)
- Beeswax – 1 cup, melted (for homemade starters)
Instructions
- Prepare the chimney starter: Crumple 3-4 sheets of newspaper and place them inside the chimney’s base. Alternatively, add one homemade natural fire starter.
- Fill the chimney: Pile the lump charcoal or briquettes into the chimney starter up to the top, ensuring they are loosely stacked for airflow.
- Light the fire: Ignite the newspaper or fire starter at the bottom of the chimney using a long-reach match or lighter. Allow the charcoal to draw flame upward and ignite fully.
- Wait for embers: After 10-15 minutes, check if the top coals have a grey ash coating. Once evenly ashed, carefully pour the coals into your grill.
- Arrange coals: Spread hot coals evenly or bank to one side according to your cooking method-direct or indirect.
- Maintain fire: Use tongs to occasionally stir coals to promote airflow, and adjust grill vents to regulate the desired heat intensity.
Chef’s Notes
- For a longer burn, mix hardwood lump charcoal with a small amount of natural briquettes.
- Keep extra homemade fire starters stored in an airtight container for your next grilling session.
- Moist weather can make lighting charcoal tougher-ensure your charcoal is dry and keep fire starters sheltered.
- Never use lighter fluid when striving for pure, chemical-free flavors; the chimney method with natural fire starters ensures the best results.
Serving Suggestions
With your charcoal perfectly ignited and maintained, you’re ready to grill everything from succulent steaks to smoky vegetables. Serve grilled dishes on rustic wooden platters with fresh herbs like rosemary or thyme for vibrant aroma. Pair your meal with homemade chimichurri or zesty lemon aioli to complement the rich smoky undertones. Don’t forget a chilled glass of crisp white wine or cold craft beer to round out your outdoor feast!

| Charcoal Type | Ignition Time | Burn Time | Heat Intensity |
|---|---|---|---|
| Natural Lump Charcoal | 10 minutes | 1-2 hours | High |
| Briquettes | 15 minutes | 2-3 hours | Medium |
Explore more on charcoal grilling techniques through our Grilling Essentials Guide and elevate every barbecue. For safety tips and scientific insight into fire management, see the National Fire Protection Association.
Q&A
Q&A: Ignite Your Grill – Charcoal Lighting Without Lighter Fluid
Q1: Why skip lighter fluid when lighting charcoal?
A1: Lighter fluid can impart a chemical taste to your food and releases unnecessary toxins into the air. Going fluid-free ensures a purer, smokier flavor and a cleaner grilling experience.
Q2: What are the best alternatives to lighter fluid for getting charcoal started?
A2: Classic contenders include chimney starters, natural fire starters like wax-coated wood chips or compressed sawdust cubes, and even crumpled newspaper. These ignite the charcoal evenly without chemical additives.
Q3: How does a chimney starter work, and why is it hailed in the grilling world?
A3: A chimney starter is a metal cylinder with ventilation holes. You fill its top with charcoal and place crumpled newspaper or fire starters at the bottom. Light the paper – the heat rises, igniting the coals above quickly and evenly. It’s eco-friendly, safe, and makes charcoal glowing in about 15-20 minutes.
Q4: Can I use household items as natural fire starters?
A4: Absolutely! Wax-dipped pine cones, egg cartons filled with dryer lint and wax, or even citrus peels soaked in alcohol can spark your coals. These quirky starters add flair and function while keeping chemicals out of your grill.
Q5: What’s the secret to ensuring charcoal lights quickly without lighter fluid?
A5: Good airflow is king. Arrange your charcoal in a pyramid or use a chimney starter to let oxygen feed the flames. Dry charcoal and patience also keep the process speedy and smooth.
Q6: How can I tell when my charcoal is ready for grilling?
A6: When the coals are covered in a white-gray ash and glowing red underneath, you’re golden. This usually takes about 20-30 minutes depending on your method.
Q7: Are there any safety tips for lighting charcoal without fluids?
A7: Always light your fire in a well-ventilated outdoor space. Use long matches or a grill lighter to keep your hands safe. Never add charcoal or starters to burning coals impulsively – patience prevents flare-ups.
Q8: Does moving away from lighter fluids affect cooking times or temperatures?
A8: Not at all! Once your coals are evenly lit and ashy, you have full control over heat-whether it’s a searing direct flame or gentle indirect heat. Your food’s flavor and texture benefit more than they lose.
Q9: How does this method impact the environment?
A9: Skipping lighter fluid cuts down on chemical fumes and plastic container waste. Using sustainable fire starters or repurposed natural materials supports eco-conscious grilling.
Q10: What’s the biggest benefit of lighting your grill this way?
A10: You get pure, delicious barbecue with a traditional smoky character and a clean conscience. Plus, mastering the subtle science of fire brings a satisfying ritual to every cookout. Ready, set, ignite-naturally!
Wrapping Up
As the last ember glows and smoke begins to curl, you’ll know that mastering the art of charcoal lighting without lighter fluid isn’t just a skill-it’s a new way to connect with your grill. By embracing natural methods and simple tools, you’re not only sparking flames but also preserving the pure, rich flavors that make every bite unforgettable. So next time you fire up your barbecue, leave the chemicals behind and let your grill ignite with nothing but good old-fashioned ingenuity. Your taste buds-and the environment-will thank you. Happy grilling!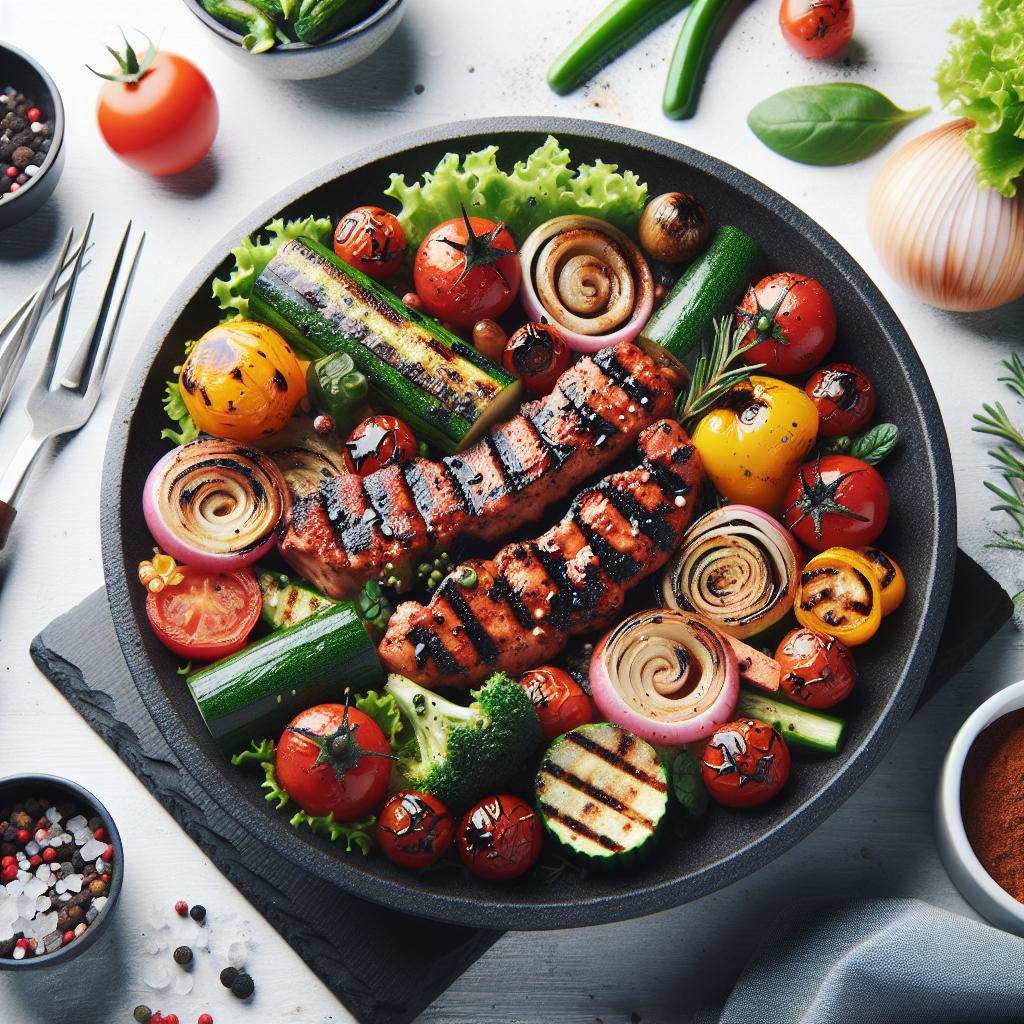


