There’s something undeniably enchanting about the crackle of a perfectly fried crust, the golden hue inviting you in, promising a symphony of texture and flavor with every bite. Buttermilk fried chicken, with its tender, juicy interior cloaked in an irresistibly crispy shell, is more than just comfort food-it’s a culinary masterpiece that has won hearts across generations. In this article, we will dive deep into the secrets of achieving crispy perfection, exploring how the magic of buttermilk transforms simple chicken into a succulent delight, and uncover the techniques and tips that turn the ordinary into extraordinary. Whether you’re a seasoned home cook or a curious beginner, get ready to master the art of buttermilk fried chicken and bring crunch and flavor to your table like never before.
Crispy Perfection: Mastering the Art of Buttermilk Fried Chicken
Crispy perfection: mastering the art of buttermilk fried chicken is a culinary journey that celebrates the timeless pairing of tender, juicy meat and an irresistibly crunchy, golden crust. This classic Southern favorite carries a story of comfort and community, where the secret lies not just in the cook’s hands but in every careful step of preparation-from selecting the ideal cut to crafting the ultimate buttermilk brine. Whether it’s a family gathering or a cozy dinner, this recipe promises mouthwatering results that will delight your senses.
Prep and Cook Time
- Preparation: 20 minutes
- Marinating: 8 to 24 hours (recommended for maximum flavor)
- Cooking: 15 to 20 minutes
- Total Time: Approximately 9 to 12 hours including marination
Yield
Serves 4 generously, perfect for sharing or meal prep.
Difficulty Level
Medium – Requires some attention to timing and frying techniques, but approachable with clear steps.
Ingredients
- For the Buttermilk Brine:
- 3 cups buttermilk
- 2 tbsp kosher salt
- 1 tbsp smoked paprika
- 1 tsp garlic powder
- 1 tsp onion powder
- 1 tsp cayenne pepper (adjust to heat preference)
- Freshly ground black pepper, to taste
- 4 cloves garlic, crushed
- Fresh thyme sprigs (optional)
- Chicken:
- 8 bone-in, skin-on chicken pieces (thighs and drumsticks recommended)
- For the Coating:
- 2 cups all-purpose flour, sifted
- 1 tbsp cornstarch (for extra crispiness)
- 1 tbsp baking powder
- 2 tsp smoked paprika
- 1 tsp garlic powder
- 1 tsp onion powder
- 1 tsp salt
- 1 tsp freshly ground black pepper
- 1 tsp cayenne pepper
- For Frying:
- Peanut oil or vegetable oil, enough to fill a deep skillet or fryer 3 inches deep
Instructions
- Choose the Perfect Cut: Select bone-in, skin-on chicken pieces, ideally thighs and drumsticks, for optimal tenderness and flavor. These cuts hold moisture well and achieve a wonderfully crispy crust.
- Prepare the Buttermilk Brine: In a large mixing bowl, whisk together the buttermilk, salt, smoked paprika, garlic powder, onion powder, cayenne pepper, and cracked pepper until fully combined. Toss in the crushed garlic and thyme sprigs for an herbal lift.
- Marinate Thoroughly: Submerge the chicken pieces completely in the brine. Cover and refrigerate for at least 8 hours, ideally overnight. This brining step tenderizes the meat while infusing layers of complex flavor.
- Prepare the Flour Coating: In a shallow dish, whisk together the all-purpose flour, cornstarch, baking powder, and seasonings. This blend creates the base for the famously crunchy crust.
- Coat the Chicken: Remove chicken from the brine, allowing excess to drip off. Dredge each piece thoroughly in the flour mixture, patting down to ensure a thick, even crust without dry spots. Set on a wire rack and let rest for 10 minutes to help the coating adhere.
- Heat the Oil: Pour oil into a large, heavy-bottomed skillet or deep fryer; heat to a steady 350°F (175°C). Use a thermometer for precise frying temperature-too hot, and the crust burns; too low, and the chicken absorbs excess oil.
- Fry to Golden Crunch: Gently place chicken pieces in the hot oil, frying in batches to avoid crowding. Cook for 7-8 minutes per side, turning carefully, until the crust is a rich, golden brown and the internal temperature reaches 165°F (75°C). Use a slotted spoon or tongs to remove and drain on a wire rack over a baking sheet to retain crispiness.
- Rest and Serve: Let the fried chicken rest for 5 minutes before serving to redistribute juices and lock in moisture.
Tips for Success
- Marination Time: For ultimate tenderness, don’t rush the brining-overnight yields the best texture and flavor depth.
- Oil Temperature: Maintain a consistent 350°F during frying; adjust heat between batches to prevent oily or burnt results.
- Double Dredging: For an even crunchier crust, dip the coated chicken briefly back into the buttermilk brine and then recoat with the flour mixture before frying.
- Variations: Swap smoked paprika with regular paprika for a milder flavor or add dried herbs such as oregano or rosemary to the flour for aromatic notes.
- Make-Ahead: Fully marinated chicken can be coated and refrigerated (covered tightly) for up to 4 hours before frying.
Serving Suggestions
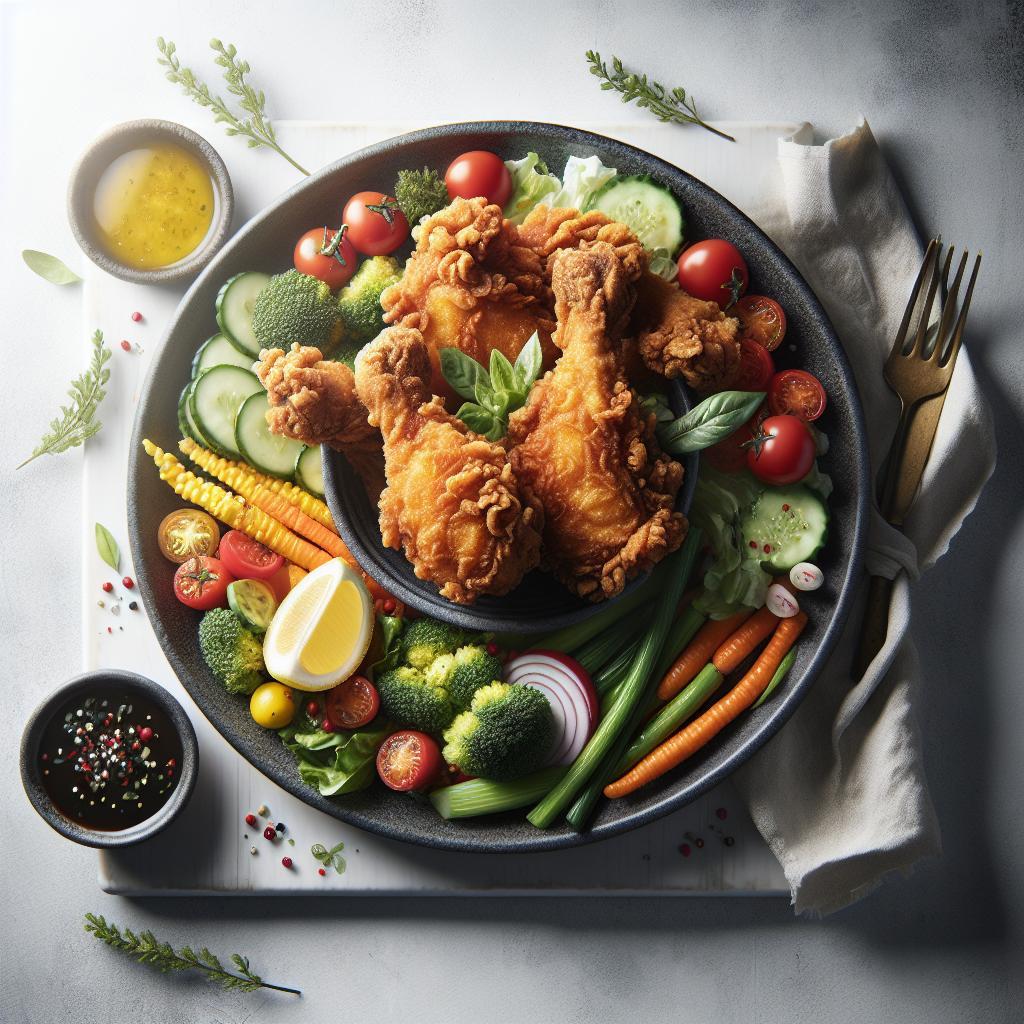
Present your crispy buttermilk fried chicken on a rustic wooden platter lined with parchment paper. Garnish with fresh parsley sprigs and lemon wedges to brighten the plate. This dish pairs beautifully with creamy coleslaw, buttery mashed potatoes, or a crisp green salad. For an elevated Southern feast, add warm honey butter biscuits and a drizzle of spicy honey for dipping. Don’t forget a cold glass of iced tea or lemonade to round out the experience.
| Nutrient | Per Serving |
|---|---|
| Calories | 550 kcal |
| Protein | 38 g |
| Carbohydrates | 32 g |
| Fat | 28 g |
Try another classic Southern dish: Cornbread Made Easy
For deep insights on food safety during frying, visit USDA Food Safety and Inspection Service.

Q&A
Q&A: Crispy Perfection – Mastering the Art of Buttermilk Fried Chicken
Q1: What makes buttermilk fried chicken different from regular fried chicken?
A1: Buttermilk fried chicken stands apart because of its luscious marinade. The tangy acidity of the buttermilk tenderizes the chicken, breaking down proteins to yield ultra-juicy meat. This results in a succulent interior that contrasts beautifully with the crispy, golden crust you crave.
Q2: Why is buttermilk essential in the marinade? Can I substitute it?
A2: Buttermilk’s acidity is the secret weapon-it not only tenderizes but also adds subtle flavor depth. You can substitute with a mixture of milk and lemon juice or vinegar to mimic acidity, but traditional buttermilk offers a uniquely creamy tang that’s hard to beat.
Q3: How long should the chicken marinate in buttermilk?
A3: Patience is key. Ideally, marinate for at least 4 hours, but overnight (8-12 hours) is best. This slow soak allows flavors to deeply infuse and texture to transform, setting the stage for irresistibly tender bites.
Q4: What’s the trick to achieving the perfect crispy crust?
A4: The crust’s crunch comes from a harmonious blend of flour, cornstarch, and a seasoning mix. Double-dipping the chicken-first in the wet marinade, then the seasoned flour, back again briefly to the buttermilk, and once more to the flour-creates that iconic, crackling shell.
Q5: Should I fry the chicken in oil or can I bake it?
A5: Traditional buttermilk fried chicken shines in hot oil-usually peanut or vegetable oil heated to around 350°F (175°C). This rapid frying locks in moisture and crafts that signature crunch. Baking can be a healthier alternative but won’t replicate the same deep, crispy texture.
Q6: How do I know when the chicken is cooked perfectly inside?
A6: The golden rule is to use a meat thermometer-aim for an internal temperature of 165°F (74°C). The meat should be juicy, no pink near the bone, and juices running clear-signs you’ve nailed safety and flavor.
Q7: Can I customize the seasoning in the flour coating?
A7: Absolutely! The beauty of buttermilk fried chicken lies in its versatility. Experiment with smoky paprika, cayenne for heat, garlic powder, or herbs like thyme and oregano to create your signature crunch and flavor profile.
Q8: Any tips to keep the fried chicken crispy after frying?
A8: Place chicken on a wire rack over a baking sheet to drain excess oil and air-cool evenly. Avoid stacking pieces to prevent steam softening your crust. If needed, keep warm in a low oven (around 200°F / 93°C) while serving.
Q9: What sides best complement buttermilk fried chicken?
A9: Classic companions include creamy coleslaw, buttery mashed potatoes, tangy pickles, or cornbread. The fresh, crisp, or creamy textures balance the hearty, crunchy chicken perfectly.
Q10: Any finale tips for mastering the art?
A10: Embrace the process with love and patience. Every step-from choosing quality chicken, soaking it just right, seasoning boldly, to frying steadily-builds toward crispy perfection. And remember: practice and taste testing are your best sous chefs!
Dive in, experiment boldly, and savor each crispy, tender bite of buttermilk fried chicken done to artful perfection!
Wrapping Up
As the golden crust crackles beneath your fingertips and the tender, juicy meat melts effortlessly on your tongue, you realize that mastering buttermilk fried chicken is more than just a recipe – it’s an art form. Each step, from the tangy marinade to the perfectly seasoned flour, weaves together a symphony of flavors and textures that elevate this classic comfort food to crispy perfection. So, armed with these techniques, may your kitchen be filled with the irresistible aroma of fried goodness, and your table with plates piled high, celebrating the timeless joy of buttermilk fried chicken done just right. Happy frying!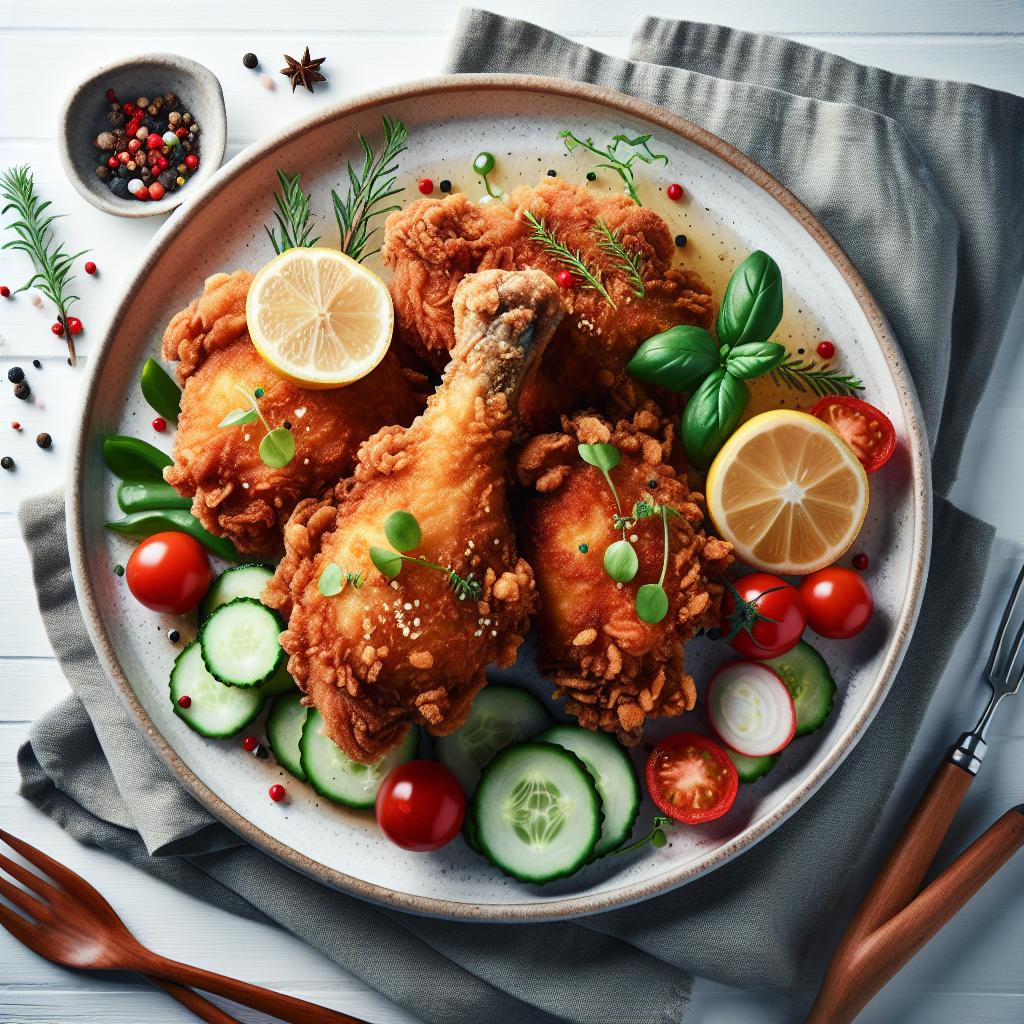


