When the grill fires up and the aroma of sizzling delights fills the air, the last thing any cookout host wants is for their carefully prepared dishes to lose their warmth and charm. Keeping food hot and ready to serve is an art form-one that balances timing, technique, and a touch of savvy innovation. Whether you’re orchestrating a backyard barbecue or a casual picnic, mastering the science of keeping your culinary creations piping hot can transform a good meal into an unforgettable feast. Dive into our smart tips and tricks to ensure that every bite from your cookout sizzles with fresh-from-the-grill deliciousness, right to the very last serving.
Sizzle On: Smart Tips to Keep Food Warm at Your Cookout begins with mastering the art of heat retention-a skill that transforms every outdoor feast into a celebration of perfectly heated, lip-smacking dishes. Whether you’re serving up smoky ribs or grilled vegetables, the secret lies in your choice of insulated containers, clever layering strategies, and smart warming tools that keep your grillfire alive long after the cooking flames have dimmed.
Prep and Cook Time
Preparation: 10 minutes | Cook Time: Varies depending on warming method | Total Time: 10-20 minutes
Yield
Serves 6-8 hungry guests
Difficulty Level
Easy
Ingredients
- 1 high-quality vacuum insulated food container (16-32 oz capacity)
- Heavy-duty aluminum foil (large sheets, enough to wrap your food)
- Thick kitchen towels or wool blankets (2-3 for wrapping)
- Portable electric food warmer or fuel cans for chafing dishes
- Chafing dish with water pan and lid for gentle steam warming
- Heatproof silicone gloves for handling hot containers
- Optional: DIY insulated box made from a sturdy cardboard box, lined with foil and towels
Instructions
- Preheat your insulated container: Before packing, fill it with boiling water and let it sit for 5 minutes. Empty and immediately fill with hot food. This initial warming preserves heat longer.
- Wrap food tightly in foil: Wrap your grilled or cooked items in heavy-duty aluminum foil. Seal edges carefully to trap steam and heat inside.
- Layer with towels or blankets: Place your foil-wrapped food inside the vacuum insulated container, then wrap additional towels or wool blankets around it. This extra insulation reduces heat loss dramatically during transport.
- Use portable warmers smartly: For extended cookouts, plug in your electric portable food warmer or light chafing fuel cans under a water pan in your chafing dish. Place food trays above to maintain even, gentle warmth without drying out the food.
- DIY warming box hack: Line a sturdy cardboard box with aluminum foil inside, then add layers of towels or blankets. Place your food wrapped in foil on top of the towels inside the box and cover fully with another blanket. This creates an impromptu cozy cocoon for your dishes.
- Monitor and replenish heat as needed: Check your chafing dish or portable warmer every 30-45 minutes. Refill water pans and replace fuel cans to maintain steady temperature throughout your cookout.
- Safe handling: Use heatproof gloves when removing food to prevent burns and keep food covered until ready to serve to preserve moisture and temperature.
Chef’s Notes and Tips for Success
- Choose containers thoughtfully: Stainless steel vacuum flasks work best for moist dishes, while insulated plastic containers are good for dry or crispy items.
- Foil layers matter: Double-wrap delicate foods like grilled fish to avoid falling apart while retaining heat.
- Keep moisture balanced: Avoid overheating in chafing dishes to prevent dried-out food. Moderate steam heat is ideal.
- Make ahead: Pack food just before your guests arrive for peak warmth and flavor.
- Combining methods: For long cookouts, try wrapping food in foil and towels inside an insulated container, then warming softly in a chafing dish before serving.
Serving Suggestions
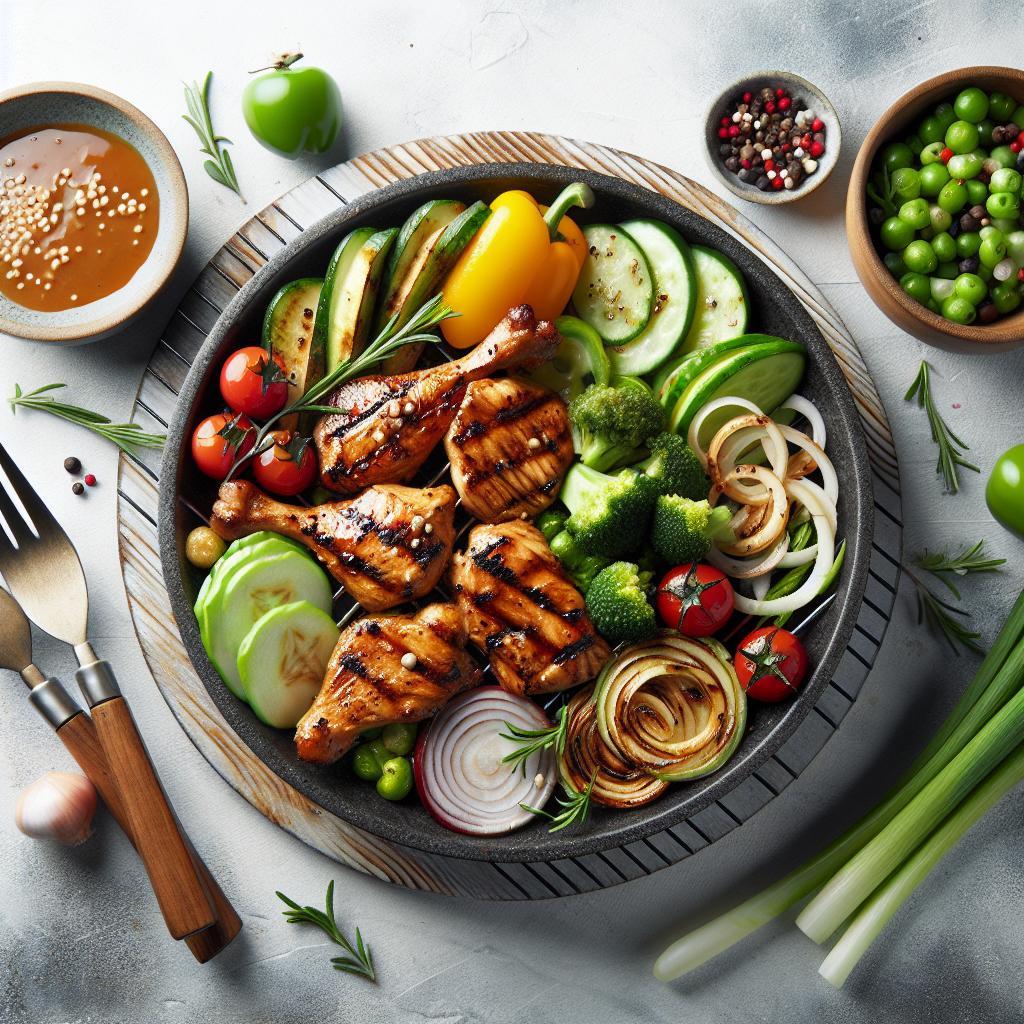
Deliver your warm dishes straight from the insulated container or chafing dish to the serving table for maximum sizzle appeal. Garnish grilled meats with fresh herbs like rosemary or thyme to complement smoky tones. Serve alongside vibrant, crisp salads and warm sides presented in matching insulated bowls to maintain warmth. Finish with a flicker of LED candles or cozy firelight to enhance ambiance and keep the cookout spirit glowing.
| Nutrient | Per Serving |
|---|---|
| Calories | 250-350 kcal (depending on dish) |
| Protein | 20-30 g |
| Carbohydrates | 10-20 g |
| Fat | 8-12 g |

Explore our Grillfire Grilling Tips for expert advice on maintaining that perfect sizzle all day.
For in-depth science behind heat retention, visit Energy.gov’s insulation guide.
Q&A
Q&A: Sizzle On – Smart Tips to Keep Food Warm at Your Cookout
Q1: Why is it important to keep food warm at a cookout?
A1: Keeping food warm ensures that every bite is as delicious as the moment it came off the grill. It preserves flavors, maintains safe serving temperatures, and makes sure your guests enjoy their meal without having to rush. Plus, no one wants cold burgers or lukewarm sides at a summer bash!
Q2: What’s the simplest way to keep grilled food hot during a cookout?
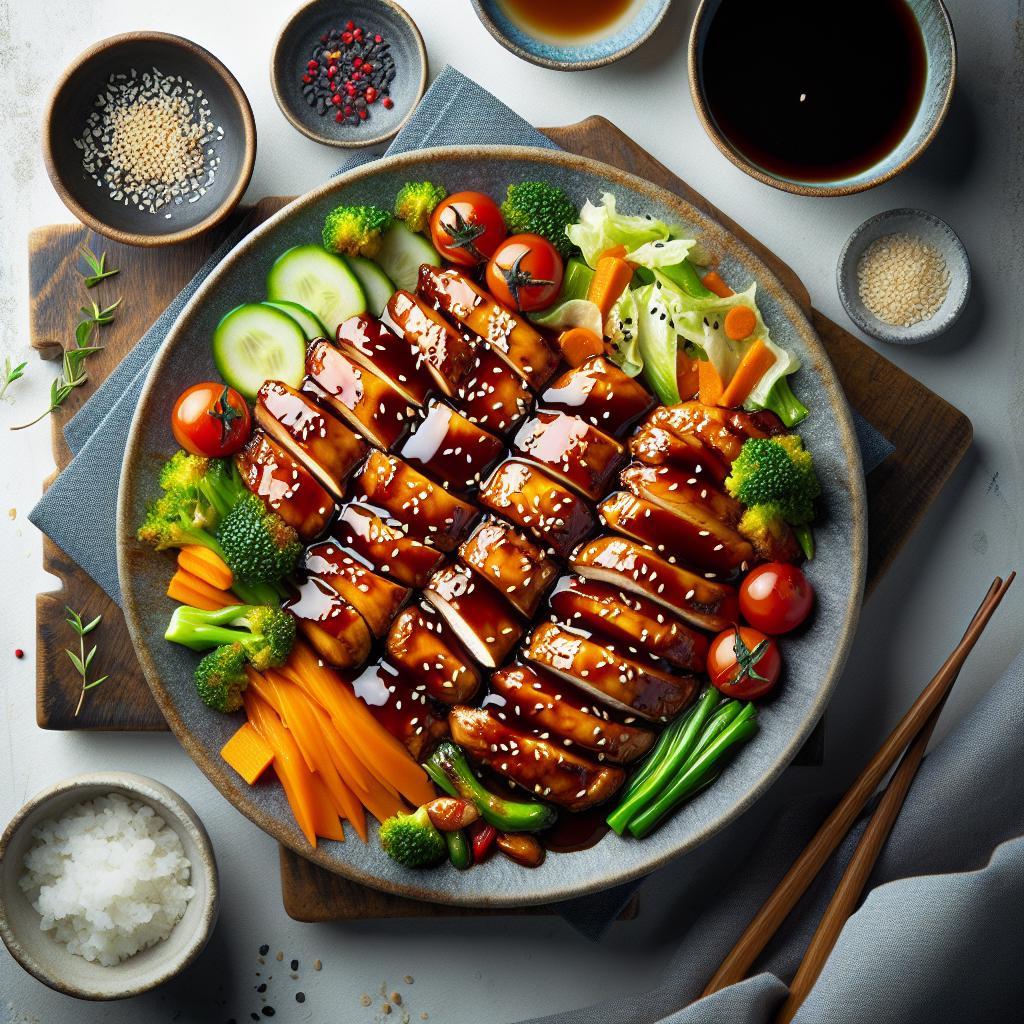
A2: Foil is your friend! Wrapping items like grilled chicken or veggies tightly in aluminum foil traps heat and moisture, acting like a little warming jacket. Just be sure to wrap food soon after it’s cooked to lock in that steamy goodness.
Q3: Can I use a cooler to keep food warm instead of cold?
A3: Absolutely! While coolers are commonly for chilling drinks, when line with towels and preheated with hot water, they become cozy food cocoons. Place wrapped dishes inside and close the lid – it creates a warm, insulated environment perfect for holding heat.
Q4: Are there any gadgets or tech tips to help?
A4: Yes! Electric warming trays and chafing dishes (think of them as food’s personal heaters) are game changers. They maintain safe temperatures and often come with adjustable settings so your grilled goodies stay perfectly warm without overcooking.
Q5: What about keeping multiple dishes warm? How do I juggle that?
A5: Use a tiered approach! Keep the hottest items closest to heat sources and wrap others in foil or store them in insulated containers. A multi-tiered chafing dish or stacking trays can help keep everything organized and cozy at the right temperature.
Q6: Any tips on timing so food remains warm but not overcooked?
A6: Time management is key! Grill in batches and wrap each batch immediately. Avoid leaving food on direct heat too long after cooking-it’ll keep warm but might dry out. Instead, use insulated carriers to hold food just long enough to serve fresh and hot.
Q7: What about safety when keeping food warm?
A7: Food safety is crucial! Keep hot foods at or above 140°F (60°C) to prevent bacteria growth. Use thermometers to monitor temperatures. And if food cools below this mark for more than two hours, it’s safer to discard rather than risk a stomach ache.
Q8: Can I keep food warm outdoors without electricity?
A8: For sure! Wrap items tightly in foil, tuck them in insulated bags, or place them in containers wrapped with towels. Hot bricks (heated carefully and wrapped) can also serve as heat packs inside coolers. Nature’s cozy hacks have your back when power runs out.
Keep your cookout sizzling not just on the grill but all the way to the dinner table-with these smart tips, your food stays warm, flavorful, and ready to impress!
Final Thoughts
As the sun sets on your perfect cookout, keeping that mouthwatering sizzle alive doesn’t have to be a challenge. With these smart tips in your culinary toolkit, you can ensure every bite stays warm, juicy, and ready to delight – no matter how long your gathering lasts. So fire up those grills, wrap up those secrets, and let the good times (and great flavors) roll well into the evening. Remember, the secret to a memorable cookout isn’t just in the cooking-it’s in the keeping warm. Sizzle on!


