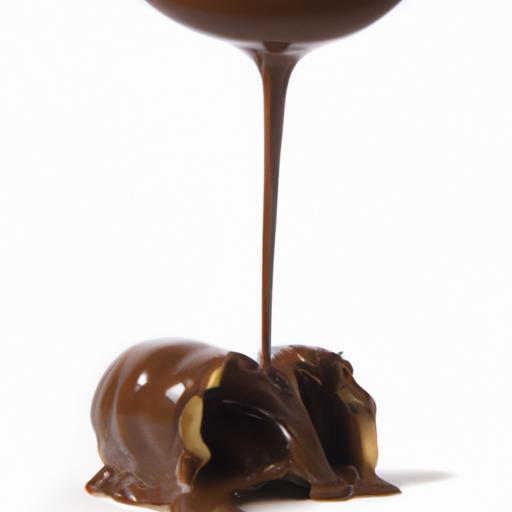
There’s something utterly magical about dipping a luscious strawberry or a crunchy pretzel into a pool of silky, perfectly melted chocolate. But achieving that smooth, glossy melt isn’t always as simple as it seems. Whether you’re a home baker aiming to elevate your dessert game or a chocolate lover seeking that flawless dip every single time, mastering the art of melting chocolate is your golden ticket. In this ultimate guide, we’ll unravel the secrets behind tempering, melting techniques, and common pitfalls-transforming ordinary chocolate into a velvety canvas ready to coat, drizzle, and delight. Get ready to dip into decadence like never before!
Perfectly melting chocolate for dipping is an art that transforms simple treats into elegant delights. Choosing the right chocolate combined with mastering temperature control guarantees silky smooth melts that coat fruits, cookies, or confections flawlessly. Whether you are dipping strawberries for a romantic touch or crafting decadent truffles, the texture and shine you achieve with properly melted chocolate elevates every bite into an indulgent experience.
Prep and Cook Time
- Preparation: 10 minutes
- Melting & Dipping: 15-20 minutes
- Total Time: Approximately 30 minutes
Yield
This recipe smoothly melts chocolate suitable for dipping up to 30 medium-sized pieces (strawberries, marshmallows, or biscotti).
Difficulty Level
Easy to Medium: Ideal for both beginners and seasoned home chefs aiming for perfect dipping results without fuss.
Ingredients
- 8 oz high-quality couverture chocolate (dark, milk, or white – finely chopped)
- 1 tbsp cocoa butter or vegetable oil (optional, for extra shine and smoothness)
- Pinch of sea salt (enhances chocolate flavor, optional)
Instructions
- Prepare your workspace. Line a baking sheet with parchment paper for easy resting of dipped items. Have your dippables ready and dry to ensure coating adherence.
- Chop the chocolate finely. Uniform pieces allow for even melting and prevent scorching. Place into a clean, dry heatproof bowl.
- Melt chocolate gently. Use a double boiler setup: simmer water in a saucepan, place bowl over (not touching water), stirring constantly with a silicone spatula. Keep temperature below 115°F (46°C) for dark chocolate, lower for milk and white varieties.
- Add cocoa butter or oil. Stir in slowly once most of the chocolate has melted to improve glaze and fluidity without thinning the chocolate too much.
- Check temperature. Using a candy thermometer, maintain chocolate between 88-90°F (31-32°C) for dark chocolate dipping. Keeping correct heat prevents graininess and cracking.
- Dip your treats. Using a fork or dipping tool, immerse items fully, lift slowly, letting excess drip back. Place on parchment to set.
- Let the chocolate set. Room temperature works best-refrigeration can cause bloom or dullness. Allow 20-30 minutes for a perfect snap.
Tips for Success
- Select couverture chocolate over chips for higher cocoa butter content, ensuring smooth and glossy melts.
- Temper chocolate if you want a professional finish. Tempering stabilizes crystals and gives that perfect shine and snap.
- Avoid water contact. Even a drop causes chocolate to seize; ensure all tools and bowls are dry.
- Use a silicone spatula to stir gently to prevent introducing air bubbles.
- Make-ahead tricks: Melted chocolate can be kept warm in a thermos or temperature-controlled bowl for up to an hour.
Serving Suggestions
Serve dipped strawberries on a mirrored platter with a dusting of edible gold dust or a sprinkle of crushed pistachios for color contrast. For a festive touch, add a drizzle of contrasting chocolate in thin zigzags. Pair dipped marshmallows with a cup of warming spiced cocoa for a cozy treat. Present cookies dipped halfway for a visually stunning affair, garnished with sea salt flakes or freeze-dried fruit powders.
| Nutrient | Per Serving |
|---|---|
| Calories | 80 kcal |
| Protein | 1.2 g |
| Carbohydrates | 9 g |
| Fat | 5.5 g |
For more insights on chocolate tempering and confections, explore our comprehensive tempering guide. To deepen your understanding of chocolate composition and quality, visit Cadbury’s Chocolate 101.

Q&A
Q&A: The Ultimate Guide to Perfectly Melting Chocolate for Dipping
Q1: Why is melting chocolate properly such a big deal?
A1: Melting chocolate isn’t just about turning solid cocoa into gooey goodness-it’s an art and a science! Properly melted chocolate ensures a glossy finish, smooth texture, and the perfect snap once it hardens. Mess it up, and you’re left with clumpy, grainy, or burnt chocolate that refuses to coat your treats beautifully.
Q2: What’s the secret to getting silky smooth melted chocolate?
A2: Patience and temperature control! Chocolate loves gentle heat-too hot and it scorches, ruining the flavor and texture. Using a double boiler or microwave in short bursts with stirring between helps coax the chocolate into that luscious, pourable state.
Q3: What type of chocolate is best for dipping?
A3: High-quality couverture chocolate is your best friend. It’s got a higher cocoa butter content, which melts beautifully and gives that shiny finish. But if you’re in a pinch, good-quality baking chocolate or chocolate chips can work-just add a little cocoa butter or vegetable oil for smoothness.
Q4: Can I add anything to melted chocolate to make it better for dipping?
A4: Absolutely! A teaspoon of coconut oil, vegetable oil, or even shortening per cup of chocolate thins it out, making dipping easier and speeding up setting time. Just be careful not to add too much, or your chocolate will lose its luscious snap.
Q5: How do I avoid chocolate seizing up during melting?
A5: Seizing happens when even a drop of water or steam meets melted chocolate, turning it grainy and unusable. Keep all tools dry, avoid steam from the double boiler reaching the chocolate, and don’t stir with wet utensils. If your chocolate seizes, adding a bit of warm cream or oil can sometimes rescue it.
Q6: What’s the best way to dip fruits, cookies, or pretzels?
A6: Use a fork or dipping tool, fully immerse your item, then lift and gently shake off excess chocolate. Place dipped goodies on parchment paper to set. For an ultra-smooth coat, refrigerate briefly but don’t freeze-it can cause chocolate to crack.
Q7: How do I store leftover melted chocolate or dipped treats?
A7: Leftover melted chocolate can be cooled, then stored airtight at room temperature or refrigerated if your kitchen is warm. Wrapped dipped treats last longer in a cool, dry place-just keep them away from humidity to avoid bloom (those white streaks) on the chocolate surface.
Q8: Any final pro tips for chocolate melting mastery?
A8: Always chop your chocolate into uniform pieces for even melting. Stir frequently and gently. And if you get discouraged, remember-practice makes perfect (and delicious)! Every dip is a step closer to chocolate nirvana.
Insights and Conclusions
As you close the chapter on your journey to mastering the art of melting chocolate for dipping, remember that patience and precision are your greatest allies. With the techniques shared in this guide-whether you prefer the gentle caress of a double boiler or the swift embrace of the microwave-you’re now equipped to create silky, smooth chocolate that transforms simple treats into irresistible delights. So go ahead, dip, drizzle, and decorate with confidence, and watch as your creations become moments of pure indulgence. Perfectly melted chocolate isn’t just a skill-it’s the sweet secret to turning everyday desserts into unforgettable experiences. Happy dipping!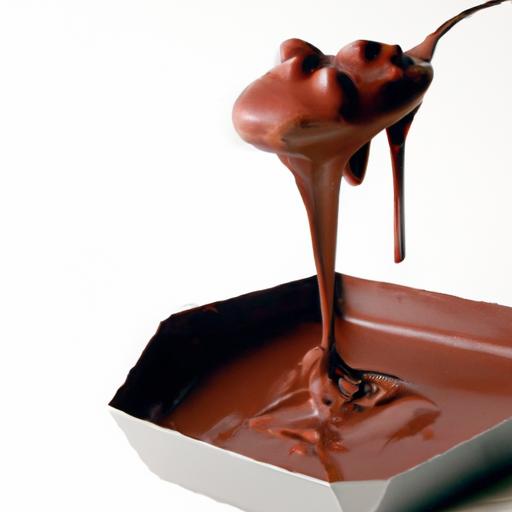


