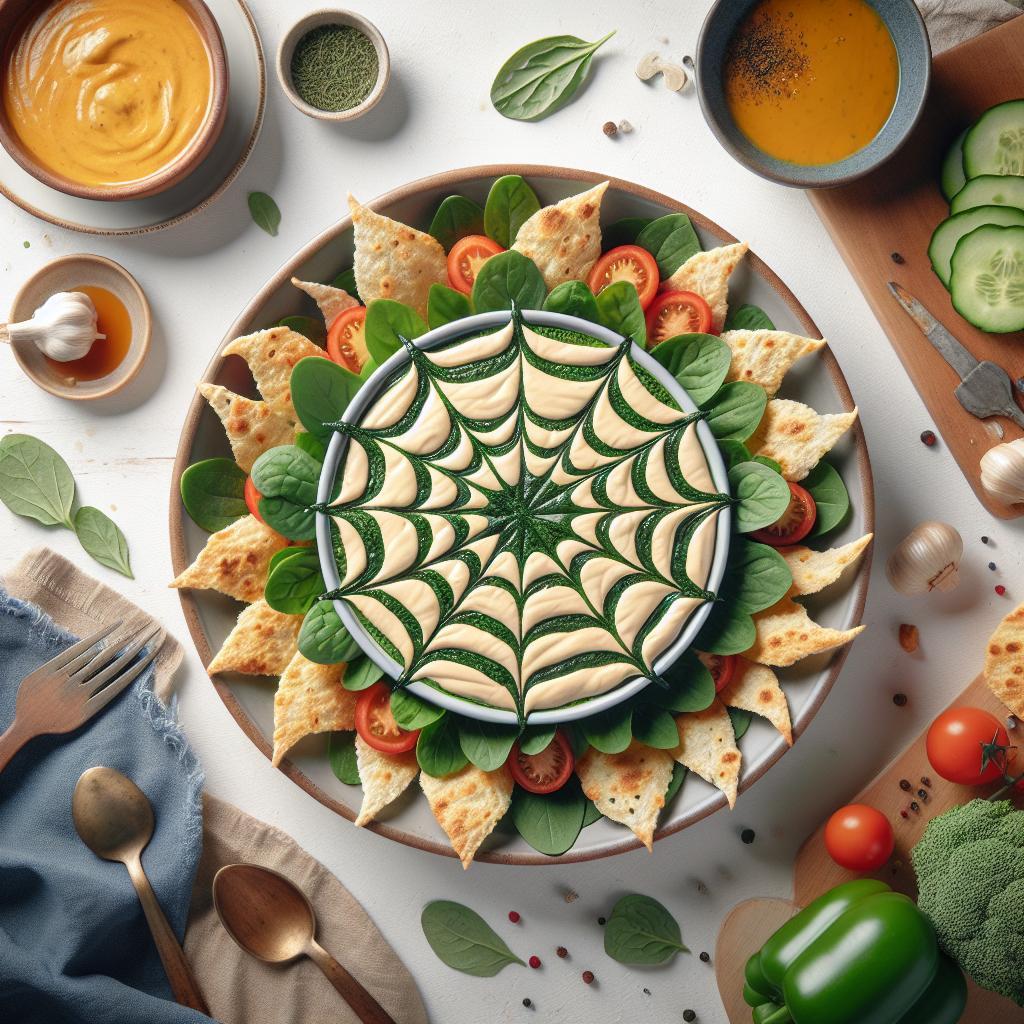
There’s a particular kind of enchantment in the delicate intricacy of spiderwebs-a natural masterpiece woven with precision and artistry. Now, imagine capturing that mesmerizing elegance on your own dip, turning an everyday snack into a canvas of whimsical design. “Weave Magic: Crafting a Spiderweb Design on Your Dip” invites you to explore the playful fusion of creativity and culinary charm. Whether you’re hosting a spooky soirée or simply want to add a touch of magic to your appetizer spread, this guide will lead you step-by-step through the art of transforming a simple dip into a stunning spiderweb spectacle that’s sure to captivate and delight.
Weave Magic: Crafting a Spiderweb Design on Your Dip begins with selecting harmonious base colors that will amplify the beauty of your spiderweb effect. Choosing the right palette sets the stage for an enchanting visual masterpiece that will captivate everyone’s attention at the table. Opt for contrasting colors such as deep black paired with shimmering white or vibrant jewel tones like emerald green and royal purple, giving the delicate web structure a dynamic dimension.
Prep and Cook Time
- Preparation: 20 minutes
- Cooking & Setting: 30 minutes
Yield
Serves approximately 8-10 guests
Difficulty Level
Medium: Requires patience and steady hands, perfect for intermediate dip artists ready to elevate their craft.
Ingredients
- 1 cup sour cream, well chilled
- 1 cup cream cheese, softened to room temperature
- ½ cup mayonnaise
- 2 tablespoons freshly prepared pesto or other vibrant sauces for base colors
- 1 teaspoon black food gel coloring (for contrast)
- 1 teaspoon white food gel coloring
- 1 package fine piping bags with round tips (size 1-2 mm)
- 1 sharp toothpick or skewer for intricate weaving
- Fresh herbs (chopped for garnish, optional)
Instructions
- Prepare the Creamy Base: In a mixing bowl, fold together sour cream, softened cream cheese, and mayonnaise until smooth and silky. Divide the mixture equally into three bowls.
- Color Your Bases: To one bowl, gently mix in the pesto sauce for a rich green base. Into another, stir black food gel for a deep, intense backdrop. Leave the last bowl white, adjusting with white gel to brighten if necessary.
- Spoon the Base Layers: Evenly spread each colored mixture in concentric circles inside your serving dish, beginning with green, followed by white, and finishing with black. This layered canvas is the foundation of your spiderweb design.
- Create the Spiderweb Stripes: Using a piping bag filled with white dip, pipe thin lines radiating from the center outwards across the layered bases. Equally space your lines to form the spokes of a spiderweb.
- Weave the Web: With a toothpick or sharp skewer, gently drag from the innermost circle outward across each radiating line, then from the outer edge back inward between the spoke lines. Alternate directions to create the intricate web pattern. Repeat until the design becomes finely detailed and mesmerizing.
- Refine and Smooth: Carefully clean edges of your design with the skewer to sharpen lines or fix any blending that can muddle the effect. Chill the dip for 15 minutes to help the web set perfectly.
Chef’s Notes
- For added depth, experiment by layering translucent glazes between base colors to create a marbled effect beneath the spiderweb.
- If you lack pipettes, use a zip-top bag with a tiny cut corner for controlled line work.
- Should colors bleed, work quickly and keep your dip cold to maintain sharp contrasts.
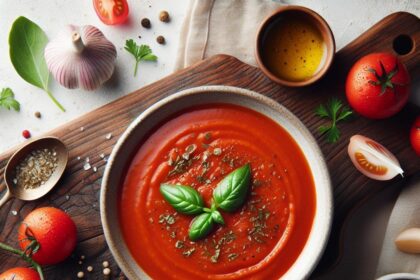
- This spiderweb dip base can be transformed by swapping pesto for beet puree or carrot juice for customized hues.
- Make ahead by preparing layers and piping the web design up to 2 hours in advance; just cover and refrigerate.
Serving Suggestions
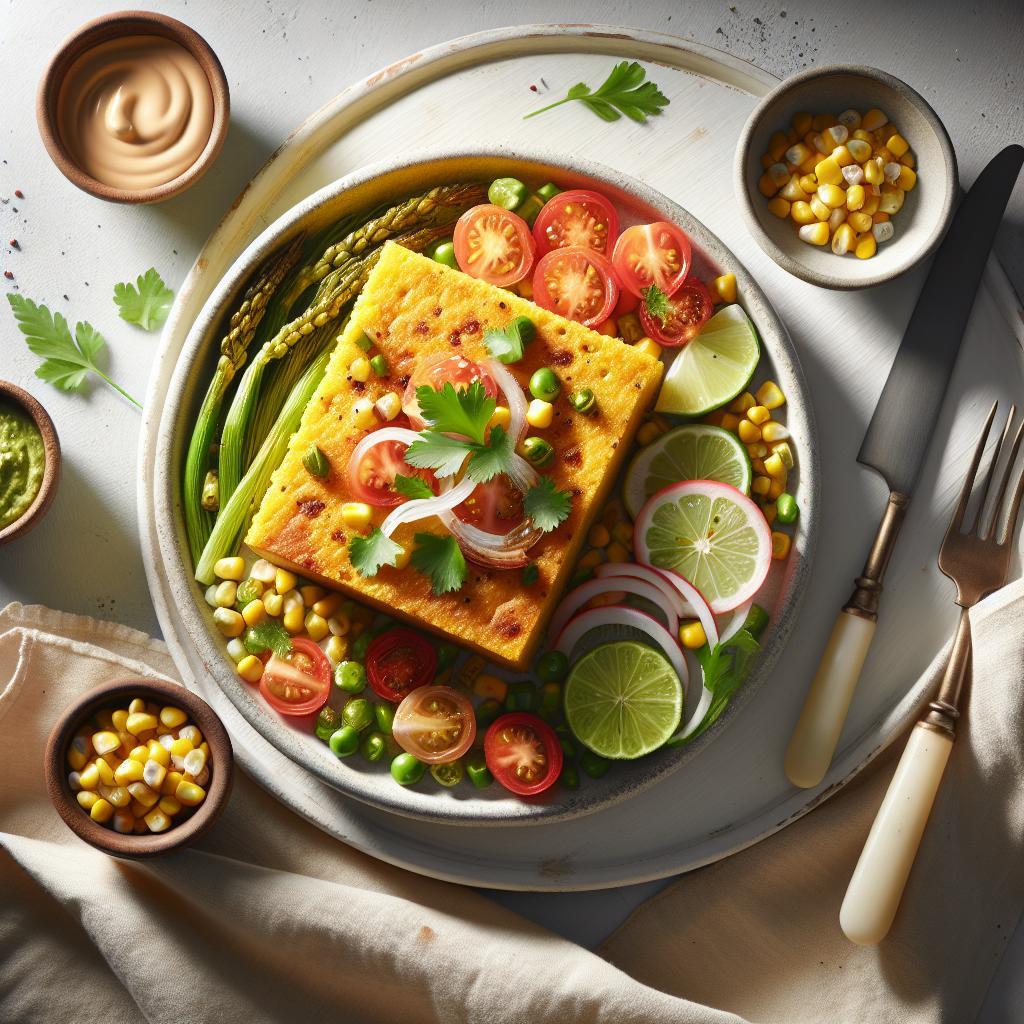
Serve your spiderweb design dip with an assortment of crisp vegetables like colorful bell pepper strips, crunchy pita chips, or multi-grain crackers. Garnish with freshly chopped herbs such as chives or parsley to add freshness and vibrant green highlights that enhance the web’s realism. Present in a shallow glass bowl to showcase the intricate layering. For seasonal flair, adorn with edible flowers or black olive “spiders” perched delicately on top.

| Nutrient | Per Serving |
|---|---|
| Calories | 115 kcal |
| Protein | 2 g |
| Carbohydrates | 3 g |
| Fat | 10 g |
Ready to dive deeper into creative dip art? Discover our Advanced Dessert Decorating Techniques and elevate your skills even further. For more inspiration on color theory in food art, visit Food Network’s Color Theory in Food.
Q&A
Q&A: Weave Magic – Crafting a Spiderweb Design on Your Dip
Q1: What is the inspiration behind the spiderweb design on a dip?
A1: The spiderweb design draws inspiration from the intricate, almost mystical patterns crafted by nature’s master weavers-spiders. Just like their webs are delicate yet captivating, this design adds a touch of artistry and surprise to your dip, making it both visually stunning and thematically perfect for parties or spooky occasions.
Q2: What types of dips work best for a spiderweb design?
A2: Smooth and thick dips such as cream cheese blends, guacamole, sour cream mixed with spices, or even hummus make an ideal canvas. The dip’s consistency needs to be firm enough to hold the design, but not so thick that it’s hard to pipe intricate shapes.
Q3: What tools do you need to create the spiderweb pattern?
A3: To weave your magic, you’ll need a piping bag or a sturdy plastic zipper bag with a tiny corner snipped off, along with contrasting ingredients to create the web-think sour cream on salsa, black bean dip with a white yogurt drizzle, or beet hummus accented with cream cheese. A toothpick or skewer is essential for dragging lines through the design to mimic the web’s strands.
Q4: How do you start making the spiderweb design?
A4: Begin by spreading your base dip evenly on a flat serving dish. Next, pipe concentric circles or spirals of your contrasting “web” ingredient over the top. The key is to keep the circles neat and evenly spaced. Then, using a toothpick, gently drag lines from the center outward, slicing through the circles to create the classic spiderweb effect.
Q5: Are there tips for a flawless spiderweb design?
A5: Yes! Keep your hand steady and work quickly before the base dip starts to dry out. Use a light touch with the toothpick so you don’t smudge the design. Also, practice on a small plate first to get a feel for the motion and spacing. Remember, slight imperfections add to the handmade charm!
Q6: Can you customize the spiderweb design for different occasions?
A6: Absolutely! Swap colors and flavors to match the theme-rich orange pumpkin dip for Halloween, or bright green spinach dip for a garden party. You can even add edible glitter or tiny edible spiders for an extra magical touch. The spiderweb design is versatile and always a crowd-pleaser.
Q7: What makes the spiderweb dip design a conversation starter?
A7: Its unexpected elegance and quirky charm invite guests to admire your artistic flair before diving in. The blend of culinary creativity and visual appeal turns a simple dip into an enchanting centerpiece, sparking curiosity and compliments at any gathering.
Mastering the spiderweb dip is all about channeling your inner artist and nature lover-where edible magic meets creative expression in every swirl and line!
To Conclude
As the final threads of your spiderweb design settle into place, you’ll find that crafting this intricate pattern is not just an art-it’s a spellbinding experience that transforms an ordinary dip into a captivating centerpiece. With patience and a steady hand, your web weaves a story of creativity and charm, inviting guests to marvel at both the taste and the visual magic. So next time you prepare your favorite dip, remember: a simple swirl can become a masterpiece with just a touch of weaving wonder. Embrace the craft, and watch your dip spin its own enchanting tale.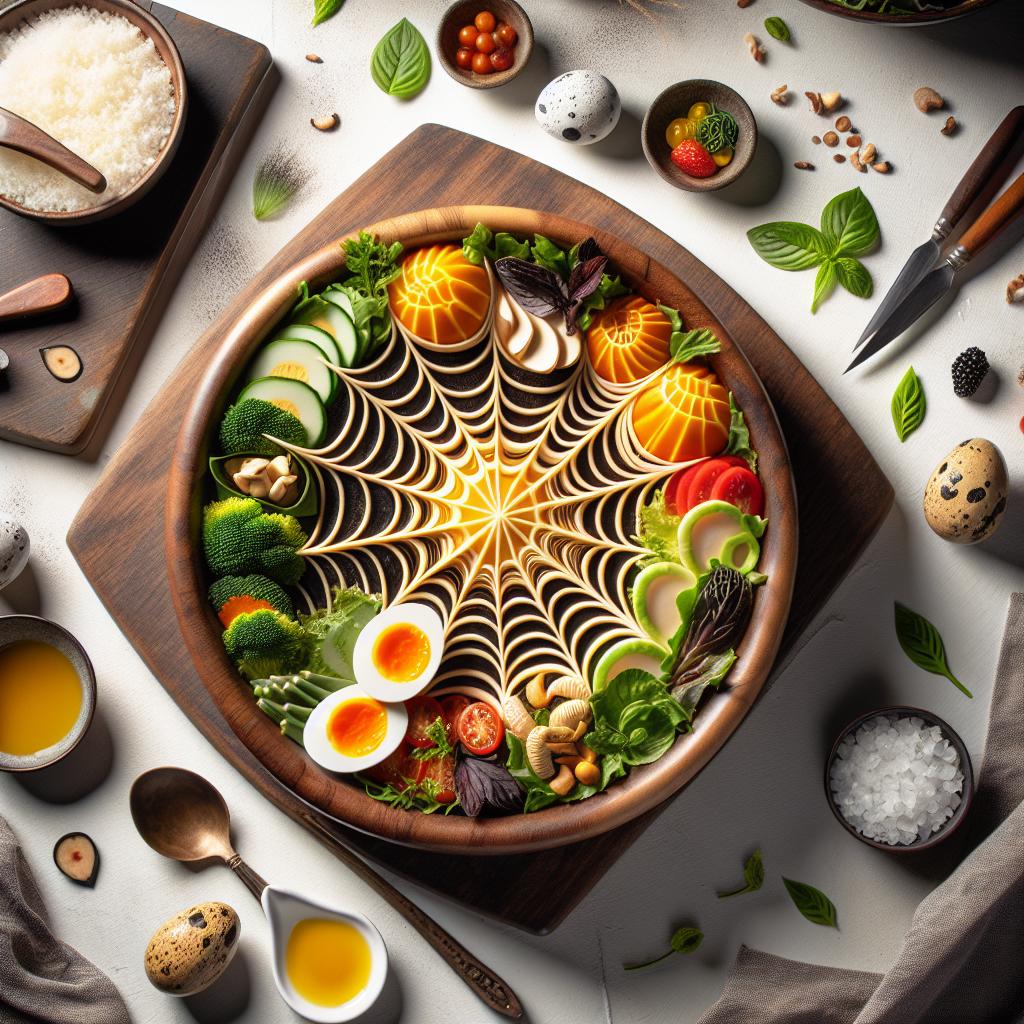


