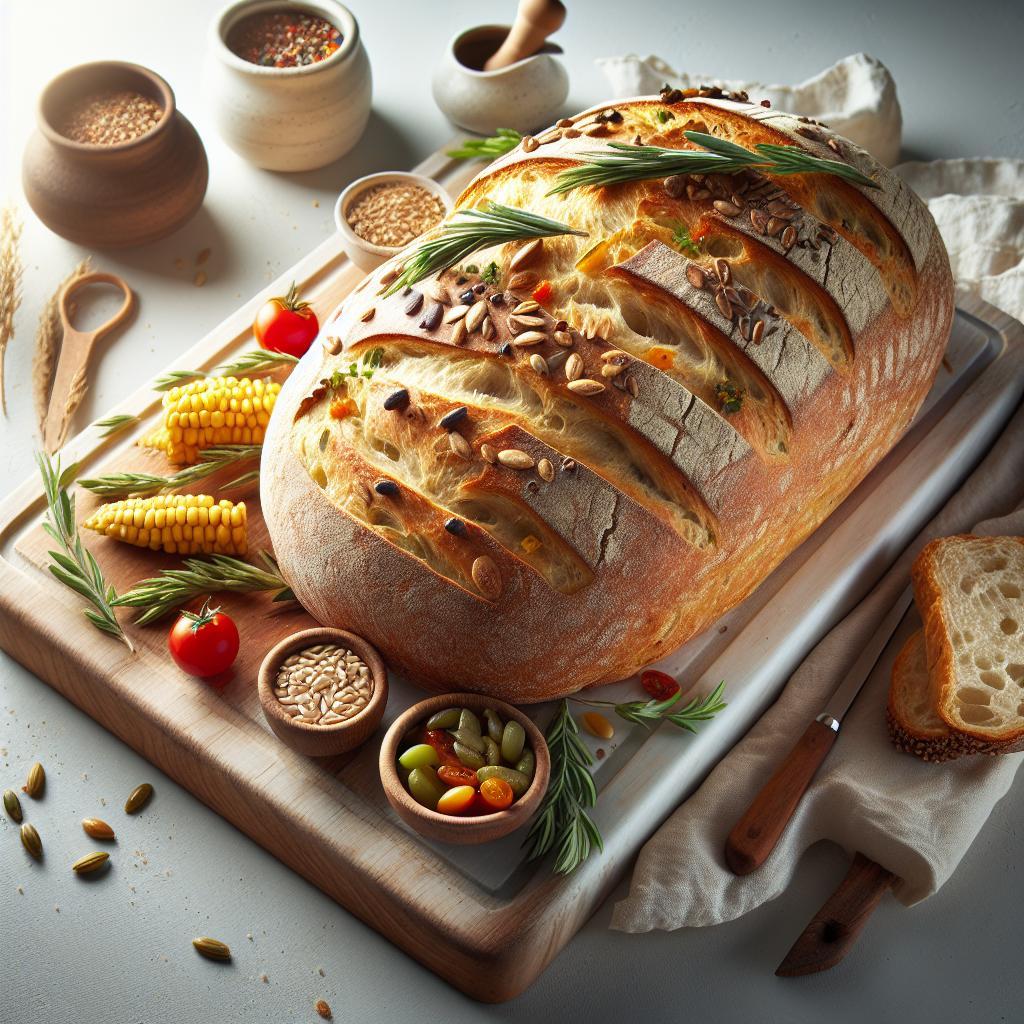
There’s a certain magic in the aroma of freshly baked bread wafting through your kitchen-warm, comforting, and utterly irresistible. Yet, for many home bakers, achieving that perfect loaf can feel like deciphering an ancient code. Too dense, too dry, or overly crusty, the quest for homemade bread that rivals a bakery’s masterpiece can be daunting. But what if the secret wasn’t in complicated techniques or rare ingredients, but in a simple, reliable method that anyone can master? In this article, we’ll crack the code together, unveiling our favorite foolproof approach to baking perfect homemade bread every time-crusty on the outside, soft and airy on the inside, and bursting with flavor. Ready to become your own bread artisan? Let’s dive in.
Cracking the Code: Our Favorite Method for Perfect Homemade Bread
Cracking the code to perfect homemade bread starts with understanding how each ingredient and technique shapes the final loaf. From the flour that brings the fluff to life, to the gentle kneading that crafts the ideal crust, every step blends art and science in your kitchen.
Prep and Cook Time
Preparation: 20 minutes
First rise: 1 hour 30 minutes
Second rise: 45 minutes
Baking: 30-35 minutes
Total: Approximately 3 hours 15 minutes
Yield
One large loaf, serves 8
Difficulty Level
Medium – approachable for home bakers ready to deepen their skills
Ingredients
- 3 ½ cups bread flour, sifted to aerate
- 1 ¼ cups warm water (105°F – 110°F)
- 2 teaspoons active dry yeast
- 2 teaspoons fine sea salt
- 1 tablespoon granulated sugar
- 2 tablespoons olive oil, extra virgin for aroma
Instructions
- Activate the yeast: In a small bowl, combine warm water, sugar, and yeast. Stir gently and let sit 5-10 minutes until frothy and bubbly.
- Mix the dough: In a large mixing bowl, whisk together bread flour and salt. Create a well in the center, then pour in the yeast mixture and olive oil. Stir with a wooden spoon until the dough begins to come together.
- Knead to perfection: Transfer dough onto a floured surface. Knead vigorously for about 10 minutes, folding and pressing to develop gluten-this builds that iconic chewy, fluffy texture. If the dough sticks excessively, lightly dust with flour but avoid over-flouring to keep the crumb tender.
- First fermentation: Lightly oil a clean bowl, place the dough inside, cover tightly with a damp cloth or plastic wrap. Let rise in a warm, draft-free spot until doubled in size, approximately 1 hour 30 minutes. This slow fermentation enhances the flavor and encourages an airy crumb.
- Shape and second rise: Once risen, gently punch down the dough to release excess gas. Shape into a tight oval or round loaf, depending on preference. Place on a parchment-lined baking sheet or in a loaf pan. Cover again and let rise 45 minutes until puffy.
- Preheat and prepare to bake: Preheat oven to 450°F (230°C). Place a shallow pan of water or ice cubes in the bottom of the oven to create steam, which contributes to a golden crust and glossy finish.
- Bake the bread: Score the loaf with a sharp knife or razor blade to allow expansion. Bake for 30-35 minutes, rotating halfway through for even browning. The crust should be a deep golden brown and sound hollow when tapped.
- Cool before slicing: Remove loaf from the oven and transfer to a wire rack. Let cool completely-this ensures the crumb sets beautifully and prevents gumminess.
Tips for Success
- Flour selection: Using bread flour boosts gluten content, essential for that fluffy lift and chewy bite. All-purpose flour works but expect a slightly denser loaf.
- Kneading mastery: Rather than rushing, use rhythmic folding and pressing motions to develop the dough’s elasticity. If your kitchen is warm, be mindful-over-kneading may toughen texture.
- Fermentation finesse: Test fermentation by gently pressing dough with your finger; if it springs back slowly, it’s ready for shaping. Rushing rises compromises flavor depth.
- Steam magic: Adding water at the start of baking creates humidity that forms a crisp crust. If you don’t have a pan, mist water into the oven quickly just before putting the dough in.
- Storage: Wrap cooled loaf in a linen cloth and store in a breadbox or airtight container. Avoid refrigerating, as it dries bread out.
Serving Suggestions
Serve your homemade masterpiece as the centerpiece of breakfast with creamy butter and seasonal preserves. For a savory bite, slice thickly and top with ripe avocado, crushed sea salt, and a drizzle of olive oil. Garnish with fresh herbs, such as rosemary or thyme, to enhance the aromatic experience. Pair with a bowl of robust tomato soup or charcuterie for an inviting meal.

| Nutrition per Slice (approx.) | Calories | Protein | Carbs | Fat |
|---|---|---|---|---|
| One slice (1/8 loaf) | 175 kcal | 6 g | 35 g | 2 g |
For more insights and recipes on baking techniques, check our bread baking tips, and expand your baking journey. Learn about yeast science from a trusted source like King Arthur Baking’s yeast guide to deepen your understanding.
Q&A
Q&A: Cracking the Code – Our Favorite Method for Perfect Homemade Bread
Q1: What inspired you to find a new method for making homemade bread?
A1: Like many home bakers, I was frustrated by inconsistent results-some loaves were dense, others too dry or gummy. I wanted a foolproof approach that anyone could follow to get that perfect golden crust and fluffy crumb every time. The quest became part science, part art.
Q2: So, what’s the “code” you cracked in homemade bread baking?
A2: The secret lies in mastering fermentation timing combined with a simple yet effective kneading technique. By giving the dough just the right amount of time to develop flavor and structure, and then gently folding rather than aggressive kneading, the bread turns out airy and tender without extra fuss.
Q3: How is this method different from traditional bread-baking recipes?
A3: Most traditional recipes emphasize strict measurements and intense kneading. Our method embraces a more relaxed, intuitive rhythm-think of it as guiding the dough rather than battling it. Plus, we use a longer fermentation at cooler temperatures, which deepens flavor naturally and makes the bread easier to digest.
Q4: Can beginners follow this method successfully?
A4: Absolutely! In fact, this approach is especially beginner-friendly. The forgiving fermentation window means you don’t have to panic if you can’t bake right away, and the kneading style reduces arm fatigue and dough mishaps. It’s all about enjoying the process as much as the results.
Q5: What ingredients are essential for the best results?
A5: Surprisingly, just four: good-quality bread flour, water, salt, and yeast. Nothing fancy or imported-just basic pantry staples. The technique does the heavy lifting, so you don’t need special enhancers or additives.
Q6: How long does the entire process take?
A6: From start to finish, expect about 18 to 24 hours because of the slow fermentation, but the hands-on time is minimal-around 20 minutes total. Most of that time the dough just rests and grows quietly.
Q7: What’s the biggest mistake people make when baking homemade bread?
A7: Rushing the fermentation process. Young dough lacks flavor and structure, while over-proofed dough collapses in the oven. Patience is the baker’s best friend-letting the dough develop fully is what transforms simple ingredients into something extraordinary.
Q8: Any tips for achieving that perfect crust?
A8: Yes! Preheat your oven with a baking stone or heavy tray inside, and add steam during the first 10 minutes by tossing a few ice cubes or spraying water. This gives that artful crackling crust everyone dreams about.
Q9: Can this method be adapted to different types of bread?
A9: Definitely. While we showcase a classic white loaf, the principles apply to whole grain, sourdough starters, and even flavored breads. Adjust hydration and fermentation slightly depending on flour type, and you’re set!
Q10: What’s the most rewarding part of baking homemade bread using this method?
A10: Watching simple ingredients transform into a beautifully risen loaf with a crisp crust and tender crumb-knowing you cracked the code yourself. Sharing that warm, fresh bread with loved ones feels like magic every time.
In Summary
As the warm aroma of your freshly baked loaf fills the kitchen and that first perfect slice reveals a tender crumb and golden crust, you’ll realize that cracking the code to homemade bread is not just about following a recipe-it’s about embracing a timeless craft. With our favorite method now in your baking arsenal, the art of bread-making transforms from mystery to mastery, inviting you to experiment, savor, and share. So, don your apron, dust off your mixing bowls, and let each loaf be a delicious testament to patience, passion, and the simple joy of homemade goodness. Happy baking!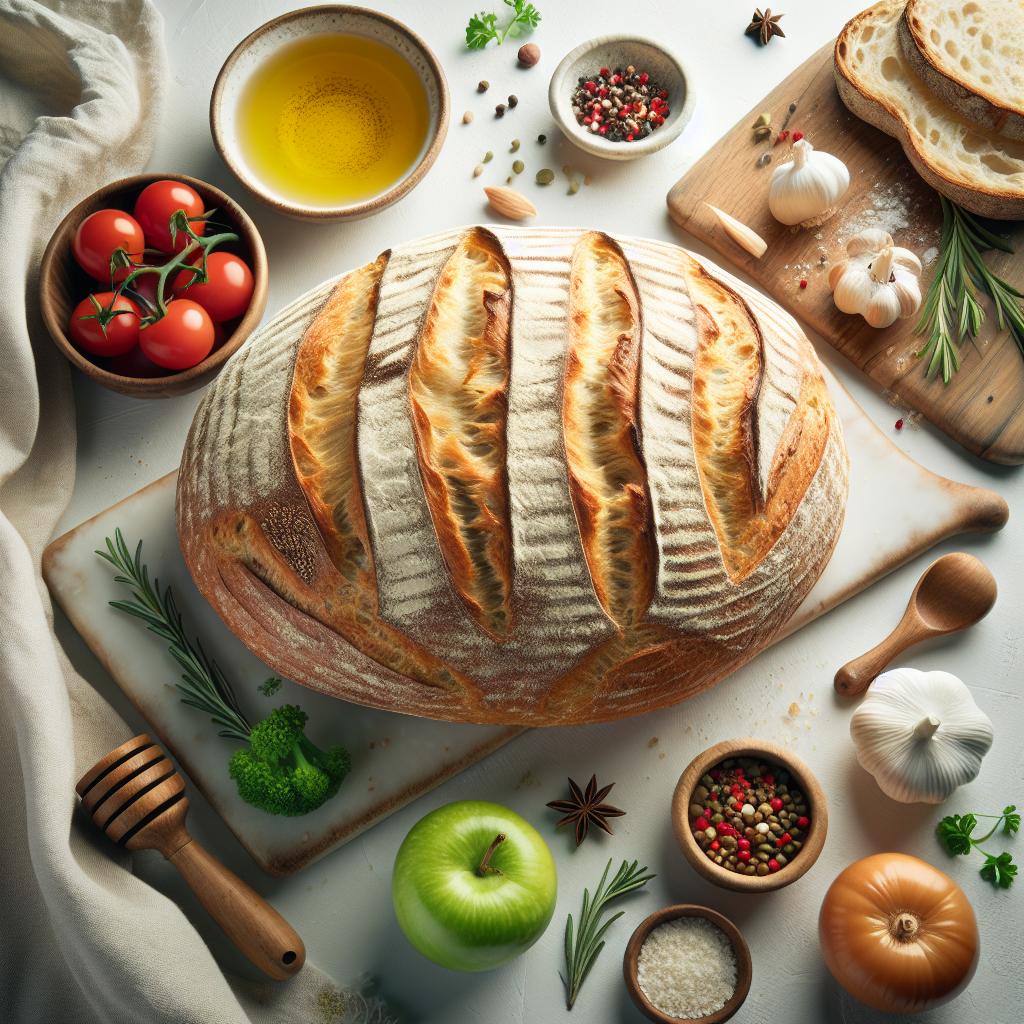


